Use this tire sidewall photo checklist to show customer service what is on your car, compare it with the factory specification, and resolve size questions before buying. Work through the four steps below, especially if you bought the vehicle used or are unsure whether its wheels have changed.
Before you start: make every character readable
Park away from moving traffic and photograph only markings you can reach comfortably from outside the car. Leave inaccessible markings for professional help.
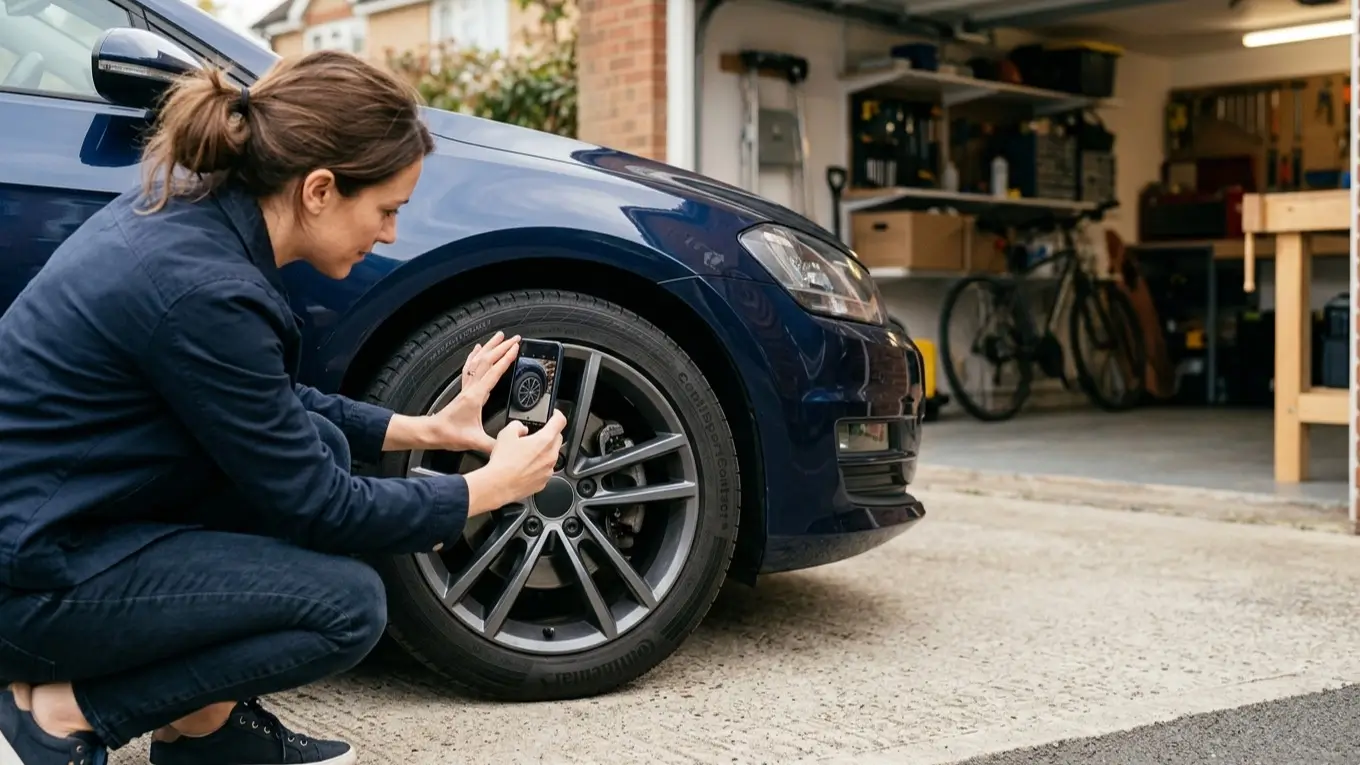
Try soft daylight at a garage entrance or an evenly lit outdoor spot. Face the phone toward the lettering, then adjust your angle if reflections wash out a number or your shadow covers it. On an iPhone, tap the marking to focus and adjust exposure beside the focus area; Apple explains these controls.
Open each saved image and zoom in before moving on. If you cannot confidently read the first and last characters, retake it. Keep the original photo and put tire-position labels in the message or filename, clear of the markings.
Step 1: photograph the complete old-tire specification
Take an overview showing the wheel and whole sidewall, followed by a close-up of the complete size, load index and speed letter. Repeat for driver-front, passenger-front, driver-rear and passenger-rear; keep each position separate.
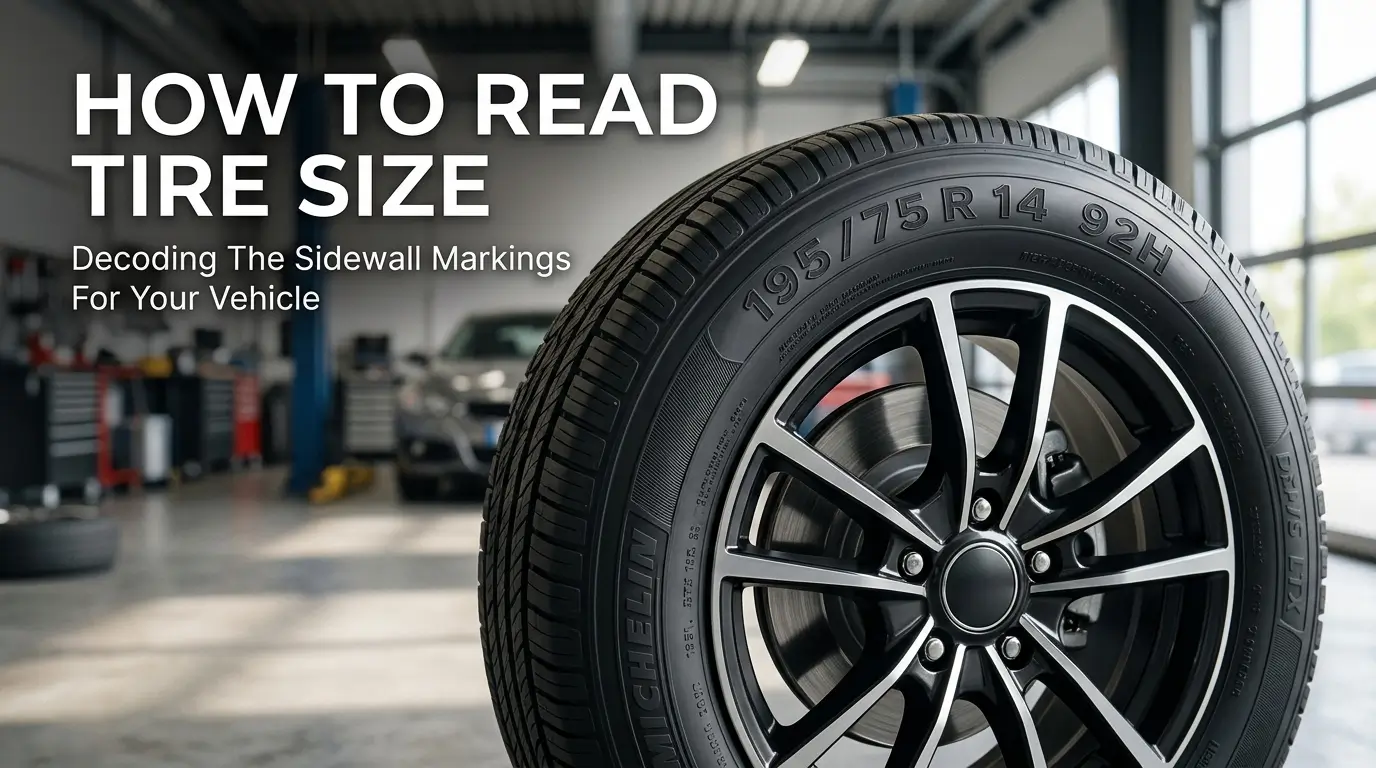
For a reading example, 225/65R17 102H contains these fields:
- 225: nominal tire section width in millimeters.
- 65: sidewall height expressed as a percentage of section width.
- R17: radial construction and a 17-inch rim diameter.
- 102H: load index 102, followed by speed symbol H.
The load index is a capacity code, not a weight on its own. The speed symbol describes tested speed capability, not a recommended driving speed. These definitions follow Bridgestone's sidewall guide; the example is a reading exercise, not a tire recommendation for your vehicle.
If your tire reads 102V, record V exactly. Do not send “102H/V” as a guess or treat those letters as interchangeable. Ask support to check the replacement against the vehicle manufacturer's load and speed requirements; a higher rating is not an overall quality score.
Include any prefix, such as P or LT, and any XL or Load Range marking in the photo. For more decoding help, see how to read tire size.
Before moving on: read the whole designation from the saved image. “17-inch tire” leaves out the width, profile and ratings needed for the conversation.
Step 2: photograph the DOT four-digit manufacturing date
Find the DOT marking and photograph the complete Tire Identification Number when accessible, including its final four date digits. The first two date digits identify the manufacturing week; the last two identify the year. Applying that rule, 2424 means week 24 of 2024. NHTSA explains the DOT date format.
Keep each date photo with its tire position. Add a caption such as driver-front-DOT so support can associate it with the correct size photo.
The full identification number may appear on only one sidewall. If the date is out of view, write “DOT date not visible” and send the accessible markings. Do not substitute a nearby number, copy another tire's date, or remove a wheel just to complete this checklist.
Before moving on: distinguish the manufacturing date from the size. The date tells you when the tire was made; it does not select the replacement specification.
Step 3: photograph the driver-side door placard and compare both ways
Open the driver's door and look on the B-pillar/door post or door edge for the Tire and Loading Information label. Photograph the whole label, then take a closer image if the small print is unclear.
The placard gives the manufacturer's tire-size information and recommended cold inflation pressure. The pressure on the tire sidewall is not the vehicle's recommended setting. See NHTSA's placard guidance.
Make a two-way check:
- Placard to tires: read the listed size, including separate front/rear entries where shown, and compare it with the photos from those positions.
- Tires to placard: check each installed size back against its relevant entry. Flag every difference, unreadable field or missing label.
Use the owner's manual and manufacturer specifications for the remaining requirements, including load and speed ratings. Do not expect every rating to appear on the door label.
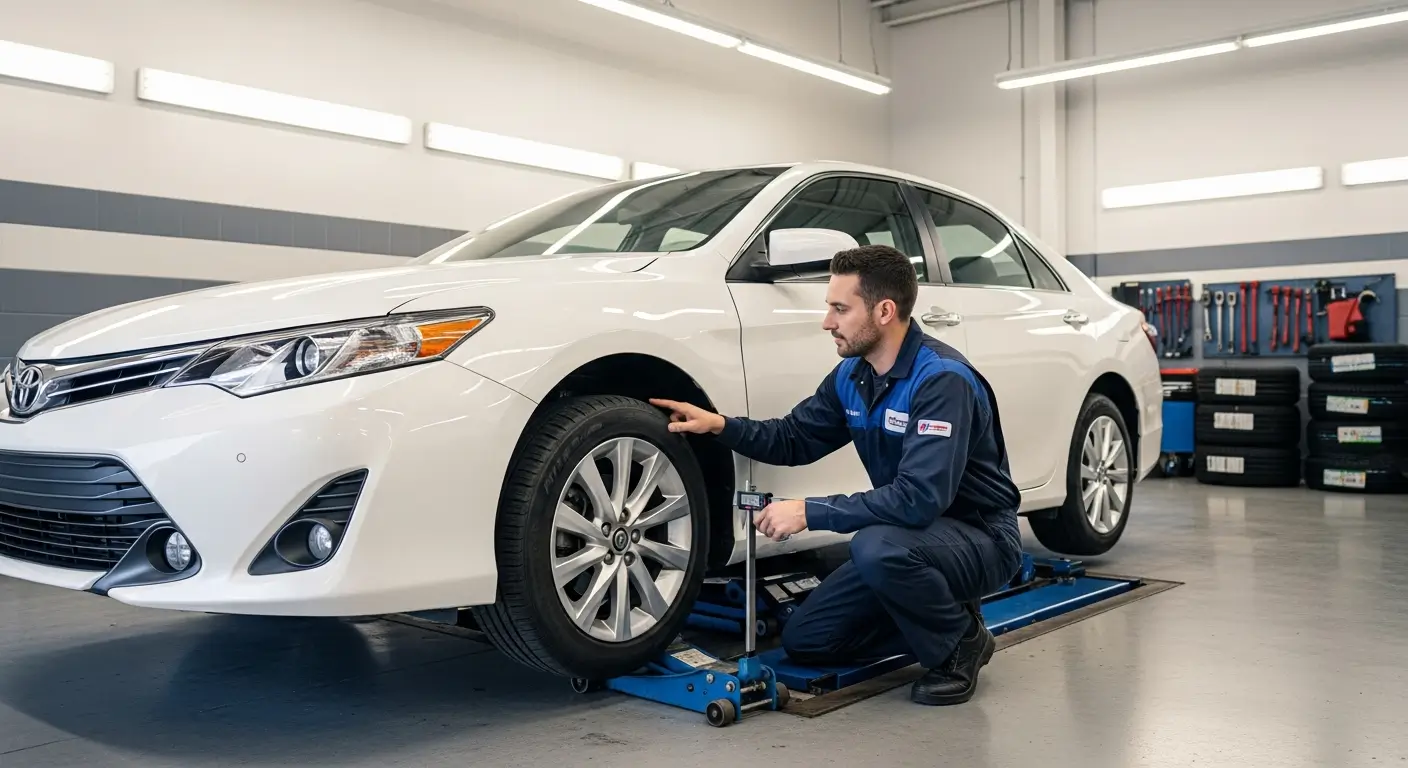
For a used car, the old tire is not automatically the correct replacement reference. Michelin identifies the placard as the factory specification, even when a previous owner fitted something different. If the wheels have changed too, continue to Step 4 before ordering.
Step 4: check front/rear differences and changed wheels
Are the front and rear sizes the same?
Compare all four full size strings, starting with the width number and continuing through aspect ratio and rim diameter. Note the load/speed markings separately. Do not judge width by appearance alone.
Some vehicles have manufacturer-specified different front and rear tire sizes, often called staggered fitment. Michelin's replacement guidance recognizes this factory arrangement. A difference on your current car still needs checking; it does not by itself prove that the setup is correct.
Ask support to confirm the required specification and quantity for each axle. Avoid selecting four tires from a single front-tire photo or making both axles identical without checking the manufacturer's requirements.
Were the wheels replaced or upsized?
If you know the wheels were changed, say so at the start of your message. If you do not know, write “wheel history unknown.” Add wheel overview photos and any available wheel specification or purchase records.
Tires must match the actual rim's diameter and width requirements and form an approved combination for the vehicle. Continental's mounting guidance explains this requirement. A placard calling for a 17-inch tire does not make that tire fit an installed 18-inch rim.
Ask a qualified tire professional to establish the wheel dimensions and suitable tire specification when the modification history is unclear. Matching rim diameter alone does not settle wheel-width compatibility. Neither an old-tire photo nor a factory label alone resolves a modified setup.
How to confirm your order with customer service
Copy this checklist into your conversation and fill in what you know:
- Vehicle: year, make, model and trim; wheel changes or “unknown.”
- Attached photos: each tire's overview, full size/rating and DOT date; full driver-door placard.
- Differences: front versus rear, tire versus placard, and anything unreadable.
- Purchase: which tire positions you want to replace and the quantity for each.
- Driving: usual roads, weather and comfort priorities.
- Location: city, ZIP code and preferred installation timing.
- Please confirm: the full front/rear specifications, wheel compatibility and any information still needed before I order.
Send original images alongside typed numbers and ask support to repeat the proposed specifications in writing. Industry tire safety guidelines recommend comparing proposed replacement specifications with your vehicle placard requirements before ordering.
Before paying, compare the selected size, load/speed designation and quantity with that reply. Resolve any discrepancy while you are still choosing the tires.
For a staggered purchase on FixGo, place two entirely separate orders: complete checkout and payment for the front size, then start a new order and pay for the rear size. FixGo tire checkout handles one specification at a time; front and rear sizes cannot be accumulated in one cart or order. Contact FixGo customer service if you need help arranging the two purchases.
FAQ
What if the old tire and door placard disagree?
Send both photos and flag any wheel changes. Ask support what needs checking before choosing the replacement; do not automatically copy either size onto an unknown wheel setup.
Is one clear tire photo enough for all four positions?
Photograph each position. Keep front and rear specifications separate until you have compared them and confirmed the required setup.
What if a character or DOT date is unreadable?
Retake the accessible marking in even light. If it remains unclear or hidden, label it unknown and ask for help instead of filling in a guess.
Bottom Line
Photograph the full sidewall specification, DOT date and door placard, then check every tire position and any wheel changes. Use the photo packet to resolve the exact replacement requirements before ordering, with separate confirmation for front and rear sizes when needed.
Bring your photos to FixGo customer support through Live Chat or call 888-693-4946. Ask about FixGo's competitive pricing and tire installation through its Southern California partner network, including the option for your ZIP code, once your specifications are clear.