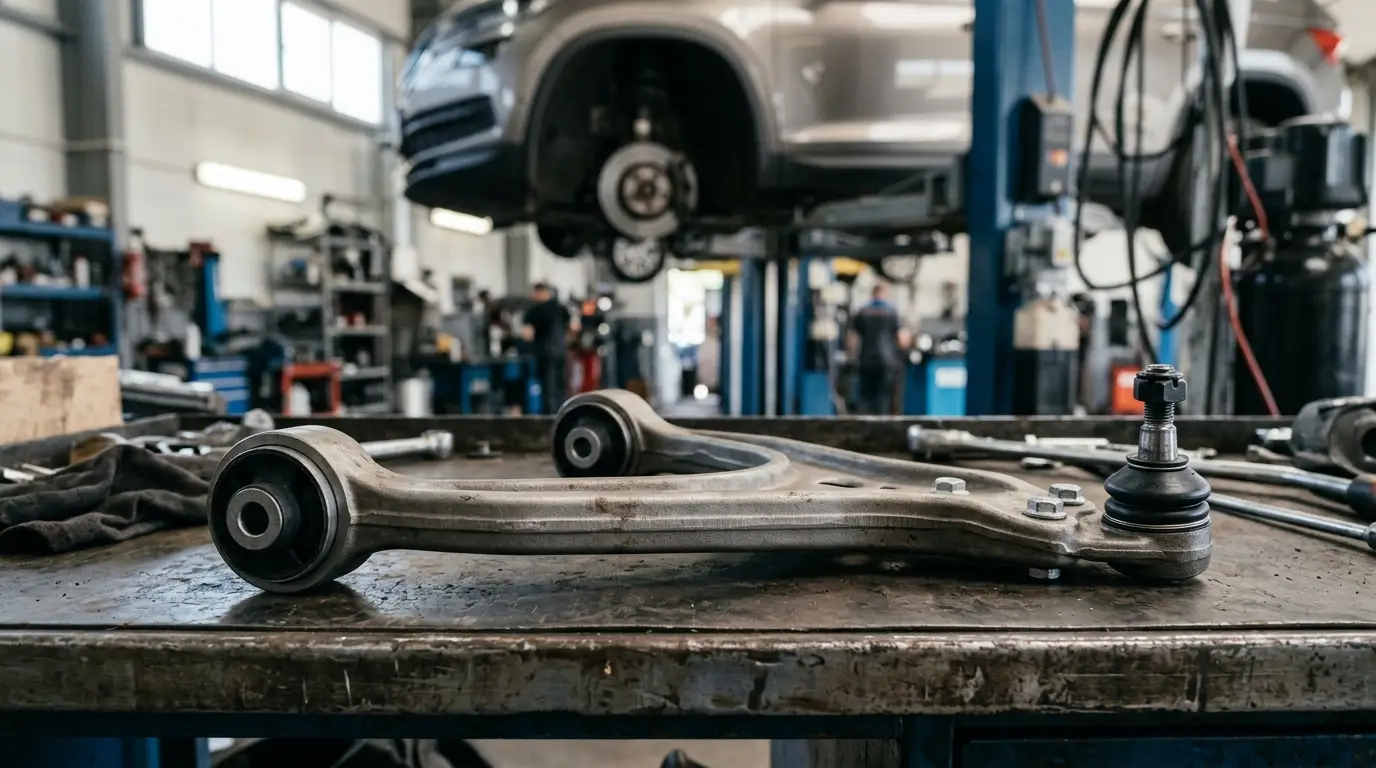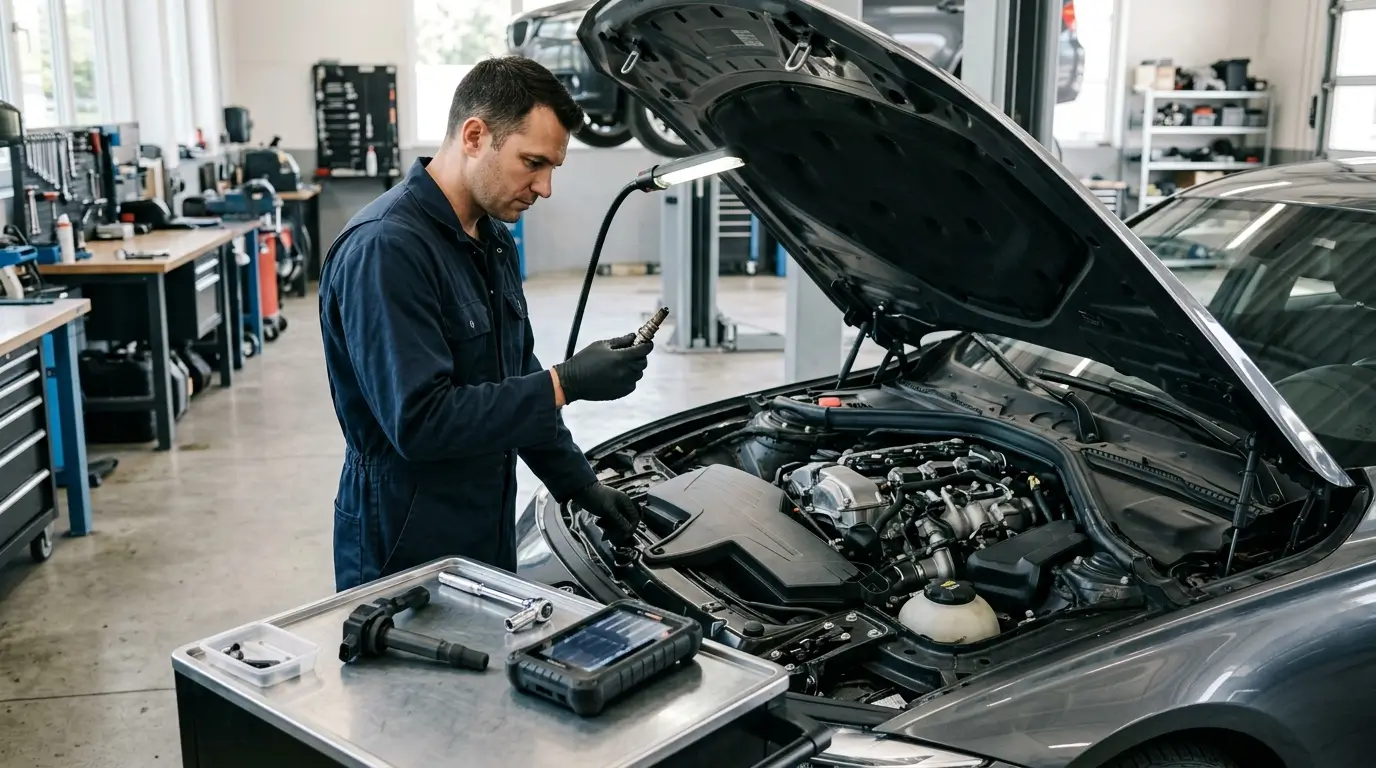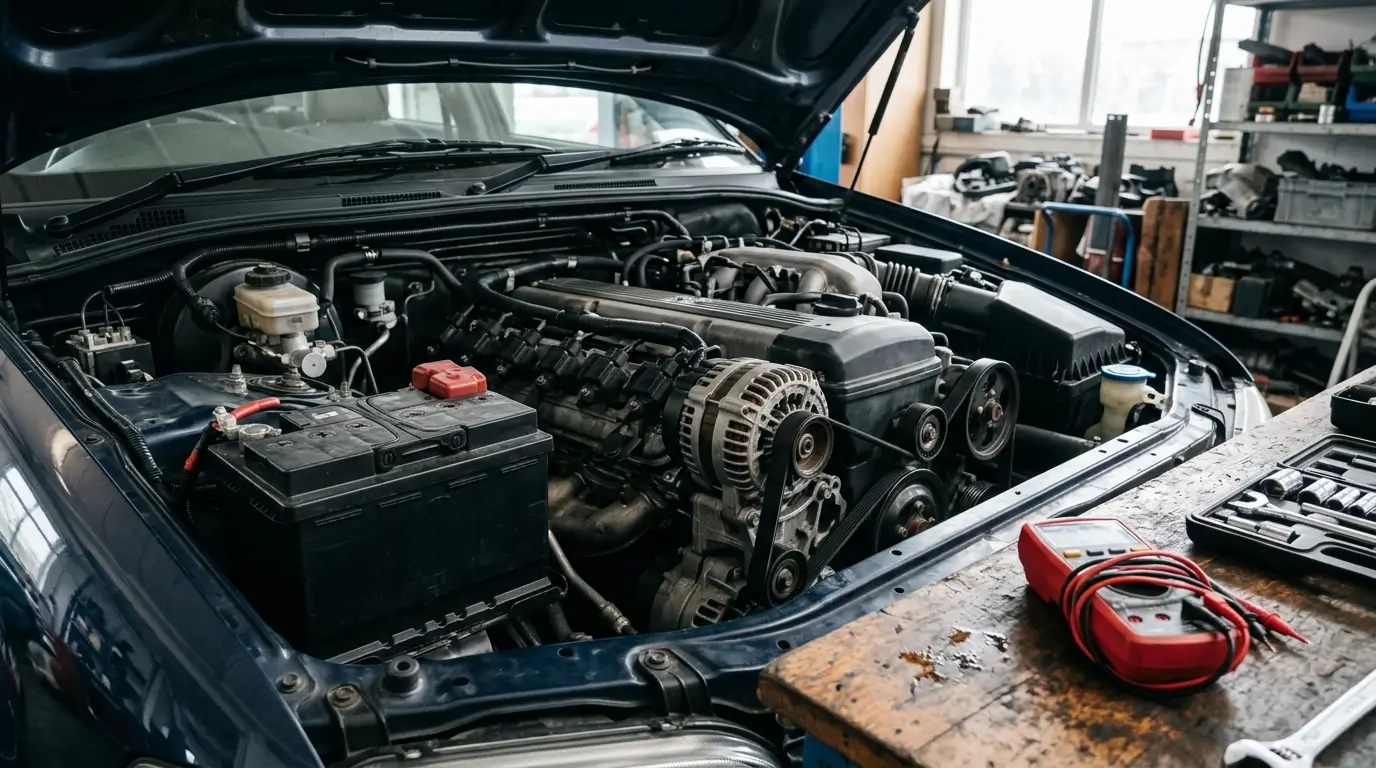
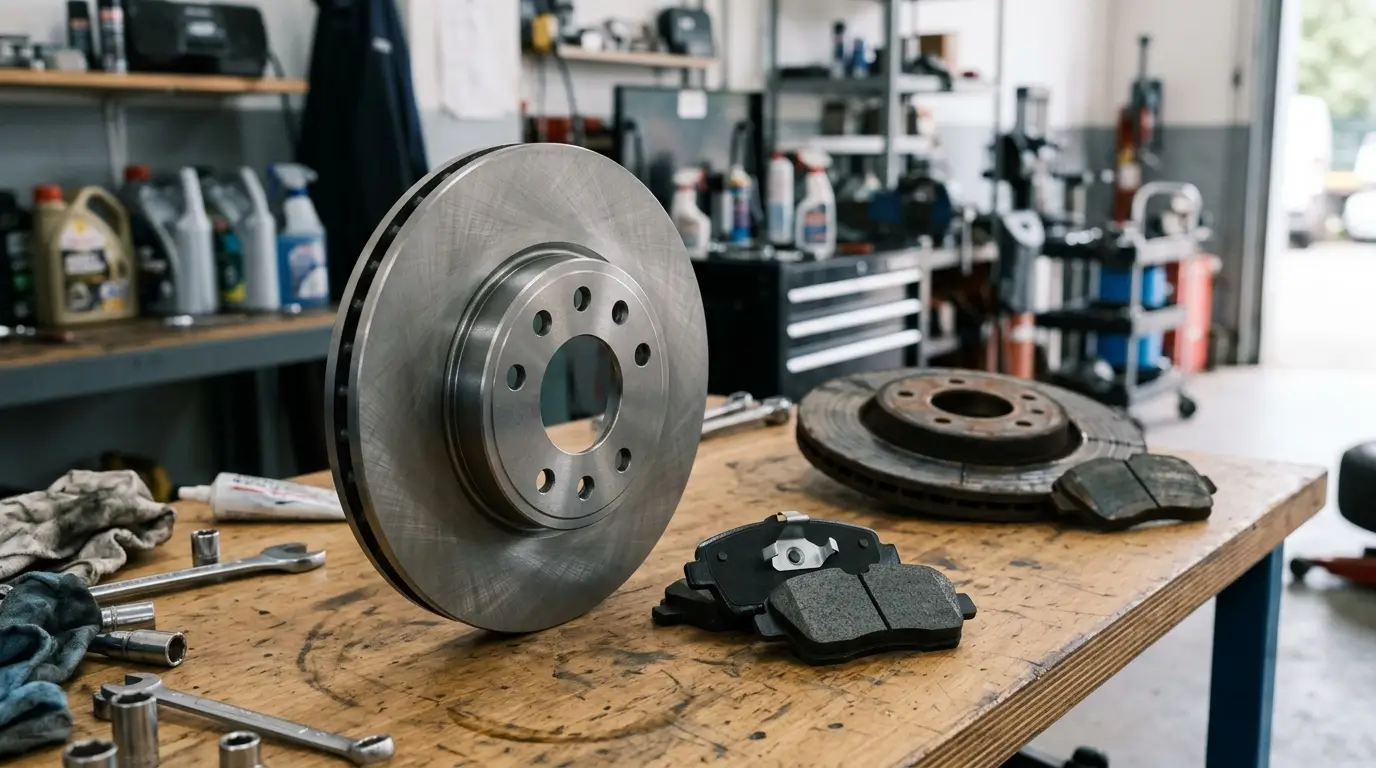
Brake pads vs rotors is a practical replacement decision: can the existing rotors safely work with new pads, or does the axle need both? Start with an inspection, then confirm the exact parts, package contents, installation plan, and checks before returning to normal driving.
Quick answer: replace pads only or both?
Pads only can be appropriate when the rotors remain serviceable and meet the vehicle manufacturer's requirements. Replace pads and rotors together when the rotors need replacement. New pads do not restore an excessively worn rotor. Brembo's replacement guidance supports retaining suitable rotors during a pad change and fitting new pads with new discs.
At a glance: differences that decide the job
| Check | Pads only | Pads and rotors |
|---|---|---|
| Pad condition | Replacement needed | Replacement needed or new rotors |
| Rotor thickness | Meets reuse specifications | At or below minimum |
| Rotor surface | Suitable for new pads | Deep scoring or cracks |
| Heat damage | No disqualifying damage | Blue or dark heat spots |
| Braking vibration | Cause checked and resolved | Damaged rotors confirmed |
Rotor rejection signs include minimum thickness, deep scoring, cracks, and heat damage. A vibration needs diagnosis before choosing the repair. See Brembo's rotor inspection criteria and Wagner's rotor symptom guidance.
1. Is the brake pad failing, or is the rotor damaged?
Pad symptoms: squealing, thin material, and grinding
A persistent squeal can come from a pad's wear indicator. Measure the remaining friction material, rather than treating the metal backing plate as usable pad thickness. If the reading is around or below 3–4 mm, arrange a replacement assessment promptly: Goodyear Brakes suggests considering replacement at 4–6 mm, while PowerStop advises replacement at 3 mm or less. Use the vehicle's specified limit; neither number promises a remaining mileage. Goodyear Brakes FAQ, PowerStop pad-wear guidance.
Grinding can indicate that the friction material has worn away and metal is contacting metal. Stop normal driving and arrange an inspection; do not try to cure grinding with a bedding run. PowerStop's symptom overview.
If the pedal feels soft or continues to sink, braking is noticeably weaker, or you suspect a brake-fluid leak, do not continue driving or attempt a bedding run. Have the brake system inspected and arrange a tow if needed. AAA's brake warning signs.
Ask for the inner and outer pad condition on both sides of the axle. Uneven or tapered wear can point to sticking caliper components, so replacing the pads without correcting the cause may leave the problem in place. Squealing alone cannot identify which component needs replacing. Wagner's pad trouble chart.
Rotor symptoms: pulsation, scoring, rust lips, and heat spots
Steering-wheel vibration or brake-pedal pulsation during braking can indicate rotor thickness variation or a rotor/caliper problem. Deep grooves can damage the new pads fitted against them. Have the braking surfaces inspected rather than ordering pads on sound alone. Wagner's rotor inspection advice.
A visible groove or rust lip is a reason to check the disc's condition and thickness, not a measurement by itself. A worn lip can accompany irregular pad wear. Blue heat spots, deep circular scoring, and radial cracks are replacement indicators. Wagner's wear chart, Brembo's damage criteria.
The measurement that settles the decision
Have rotor thickness measured at several points around the braking surface and compare the lowest reading with the applicable MIN TH marking and vehicle service specifications. A rotor at or below its minimum must be replaced. Replace rotors across the axle, even if only one has reached its limit. Brembo's thickness guidance.
For a pads-only job, ask the installer to confirm that the surface, thickness, and operating condition permit reuse. If resurfacing is proposed, first confirm that the vehicle and rotor manufacturers permit machining. Check the specified minimum refinishing (machine-to) thickness, and verify that the finished rotor meets that limit. Do not assume that being above the marked MIN TH or discard limit makes a rotor suitable for resurfacing. Some rotor designs must not be machined. GM's refinishing thickness guidance, BMW's resurfacing limits and exclusions.
2. Which exact part and position should you buy?
Confirm the axle before the material
Use the FixGo vehicle filter to narrow the catalog. Then verify the listing's front or rear position, rotor diameter and thickness, and package contents before ordering. Record the required axle beside each part number so that a front pad set is not mistaken for a whole-car set.
For rotors, confirm the brake configuration fitted to the vehicle. Even the same model year can have different rotor types. A filter result is a starting point for checking the application details. PowerStop's rotor identification guide.
Ceramic versus semi-metallic pads
Ceramic formulations often target low dust and quieter everyday operation; Brembo describes those goals for its ceramic range. Semi-metallic pads use metal mixed with other friction materials. Select a formulation specified for the vehicle and its intended use, rather than assuming that either material label makes every pad suitable. Brembo on ceramic friction material, PowerStop's material overview.
If towing or demanding use matters, check the exact application guidance for the pad you are considering. The material name alone is not an approval for that duty.
Vented versus solid rotors
Look at the rotor's edge: a solid rotor has a single solid disc, while a vented rotor has a gap between its two braking faces. Match the vehicle's specified configuration; do not choose a different type simply because it looks like an upgrade. Vented construction is different from holes or slots in the friction surface. PowerStop explains solid and vented rotors.
3. What should be included in the package?
Check the written contents before ordering and again when the box arrives, before dismantling the car.
- Pad quantity and axle: A common axle set contains four pads for the specified front or rear application. Confirm that the listing describes one complete axle set. Manufacturer catalogs show four-piece sets, but the package description remains the check for your order. ABRO's brake-pad catalog.
- Hardware clips and wear indicators: Check whether clips, shims, and the required wear indicator or sensor are included. These may be supplied with pads or sold separately. Do not interpret sensor compatibility as proof that a sensor is in the box. Brembo's accessory guidance.
- Rotor quantity: Read the quantity field for “each,” “pair,” or a specified kit count. For replacement across one axle, confirm the order supplies both required rotors, with the correct position for each.
- Surface preparation: For a bare rotor supplied with protective oil, remove that oil and residue as directed before installation. For a coated rotor, follow its specific preparation instructions rather than treating every finish like removable packing oil. Keep grease off the braking surfaces. Brembo's maintenance training guide.
4. Can you DIY the replacement?
Plan the work from the vehicle's service procedure, including its lifting points, caliper design, and fastener specifications. If you cannot verify the rotor measurements or complete the required checks, have a qualified technician handle the job.
Before servicing rear brakes, check whether the vehicle has an electronic parking brake. Follow the vehicle-specific procedure to enter and exit brake service or maintenance mode; do not force the caliper piston. Acura's EPB service procedure.
The preparation list includes a correctly rated jack and jack stands, wheel chocks, a caliper hanger, the correct piston compressor or rewind tool, and a wire brush for mounting-surface cleaning. Wear eye protection and gloves. Never work with the vehicle supported only by a jack. Never hang a caliper by the rubber brake hose. Some rear pistons screw back in and cannot be pressed straight in with a C-clamp; follow the vehicle-specific procedure and monitor reservoir level during retraction. PowerStop's installation guide.
Do not use compressed air or a dry brush to clean old brake dust. Follow appropriate dust-control procedures, and use the wire brush only for the mounting surface as directed by the service procedure. EPA's brake-dust precautions, PowerStop's hub-cleaning guidance.
Use a torque wrench and the vehicle manufacturer's values for caliper fasteners and wheel nuts. Check pad orientation and required hardware; a generic torque figure from another vehicle is not a substitute. Ferodo's installation checks.
Plan FixGo delivery and installation separately
Before ordering, check whether the specific FixGo item supports home delivery only or shop installation, and whether the installation option is available for your location. Do not assume the parts package includes labor.
Before ordering, check the current shipping and return terms on the FixGo product page for the item.
5. How do you verify the work and bed in the brakes?
Check before moving
With assembly complete, apply the brake pedal as directed to bring the pads into contact and restore normal pedal travel. Check fluid level, fastener completion, and wheel torque. Do not begin a drive with an abnormal pedal. Brembo's fitting instructions.
Follow the installed parts' bedding procedure
Bedding establishes an even transfer of friction material from pad to rotor. Uneven deposits and disc thickness variation can contribute to judder. Ferodo's explanation of bedding and vibration.
- Read the instructions supplied for the actual pads and rotors before driving. Confirm the required speed range, braking pressure, repetitions, and cooling stages.
- Start with a cautious low-speed brake check in a safe, clear area. Proceed only when pedal feel and stopping response are normal.
- Perform the prescribed sequence only where legal and safe. Follow its cooling instructions; do not substitute repeated emergency stops or copy a sequence intended for a different rotor finish.
- Check for persistent noise or vibration. Stop the test if braking feels abnormal and have the installation inspected.
PowerStop provides different break-in sequences for coated and non-coated rotors, while Brembo calls for gradual braking during running-in. Use the instructions that accompany your combination. PowerStop's break-in procedures, Brembo's running-in guidance.
FAQ
Do new pads always require new rotors?
No. Pads-only replacement is possible with suitable rotors. If the rotors need replacing, fit new pads with them. Brembo's replacement advice.
Will new rotors automatically fix steering-wheel shake?
Not necessarily. Hub contamination, runout, and sticking caliper parts can contribute to braking judder. Identify and correct the cause as part of the repair. Ferodo's judder troubleshooting.
Does a four-pad box cover all four wheels?
A typical four-piece axle set covers the specified front or rear axle. Check the package's axle designation and count before ordering a second set. ABRO's axle-specific catalog.
Bottom line
Choose pads only after the rotors pass the required measurements and condition checks. Choose pads and rotors when the discs are worn beyond their limits or damaged, then confirm the axle, package, installation procedure, and final brake checks before the car returns to regular use.