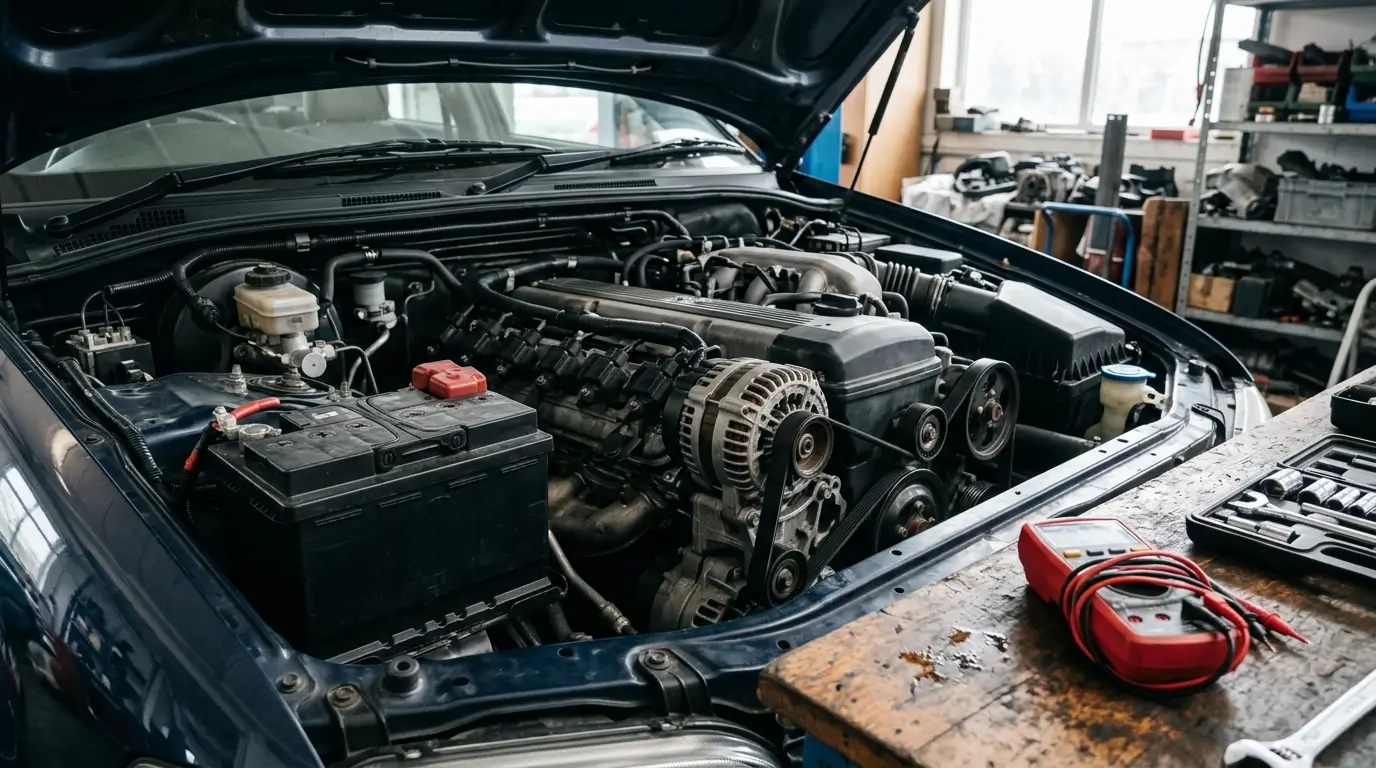
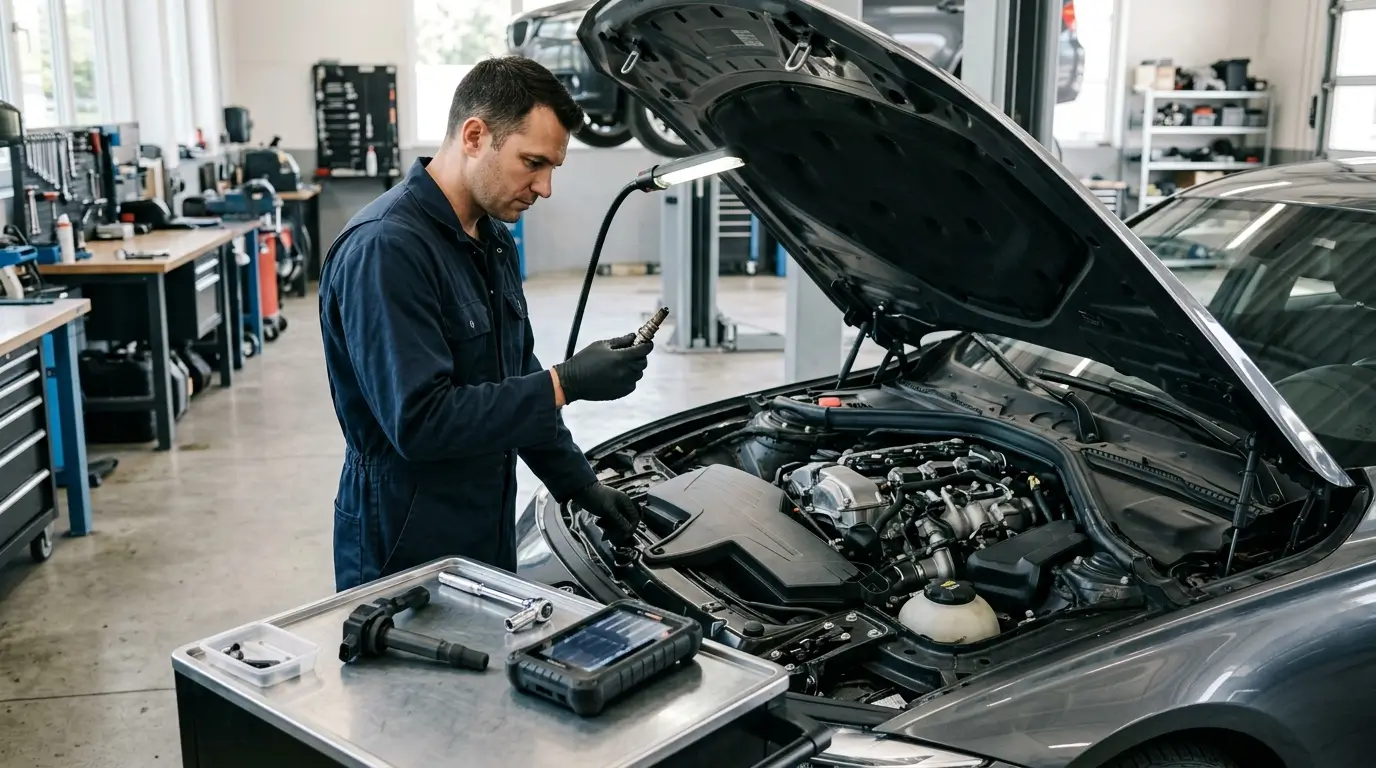
A P0300 code means your vehicle has detected random or multiple-cylinder misfires. Finding the cause starts with the warning light, the driving symptoms and targeted tests. Innova’s explanation of misfire codes makes the distinction clear: the code identifies the malfunction, while diagnosis identifies the repair.
What P0300 means—and how it differs from P0301–P0308
A misfire happens when a cylinder does not burn its air–fuel mixture properly. That interrupted combustion can make the engine run unevenly and deliver less power. DENSO’s misfire guide describes this connection between combustion and drivability.
P0300 is the generic designation for “Random/Multiple Cylinder Misfire Detected.” P0301 through P0308 identify misfires in cylinders 1 through 8, respectively: P0302 points to cylinder 2, for example. Use the vehicle’s service information to locate the numbered cylinder. Innova’s code definitions list the individual codes.
Neither format proves that a spark plug or ignition coil is defective. Treat a cylinder-specific code as a location to investigate, and P0300 as a reason to examine the wider pattern. Buying every coil because several cylinders are affected can leave the real problem unresolved. Innova’s diagnostic guidance cautions that misfire codes have several possible causes.
Flashing check engine light: make this the first decision
A check engine light flashing while the engine is running calls for immediate attention. A severe misfire can allow unburned fuel into the exhaust and damage the catalytic converter. Stop the trip, move out of traffic as soon as it is safe, switch off once safely parked, and arrange professional assistance. With continued flashing or severe shaking, arrange a tow rather than driving to a shop. Innova’s flashing-light guidance explains the converter risk and urgency.
Do not keep the engine running to see whether the problem clears. A steady light also deserves diagnosis; it does not establish that continued driving is safe. When speaking to the shop, explain whether the light flashed, whether the engine shook, and whether power dropped.
P0300 symptoms you may notice
Look for the circumstances as well as the symptom:
- Engine shaking or rough idle: uneven running while stopped at a light.
- Reduced acceleration: the car feels weaker when you press the accelerator.
- Jerking or hesitation under load: a stumble when accelerating.
- Poor fuel economy: increased consumption alongside rough running.
- An illuminated or flashing check engine light: scan it rather than guessing from the lamp alone.
DENSO lists rough idle, hesitation, jerking, power loss and increased fuel consumption among misfire-related complaints. These observations help describe the fault; they do not identify a failed component by themselves. DENSO: misfire symptoms.
How to diagnose a P0300 code step by step
Use this sequence to organize a diagnosis with your repair shop. Start with recorded information and visual checks; leave live ignition testing, fuel-system testing and internal-engine diagnosis to a technician with the correct tools and service instructions.
1. Scan the vehicle and save the evidence
Connect a compatible OBD-II scanner according to its instructions. Save the stored codes, pending codes and available freeze-frame data before clearing anything. Note the engine speed, load and coolant temperature captured with the fault, then tell the technician whether you noticed the problem at idle, after warming up or during acceleration.
Erasing codes can also erase freeze-frame information. A screenshot or saved scan report gives the shop a useful starting point. Innova’s scanner manual explains what freeze-frame captures and what code clearing removes.
Read any accompanying codes as part of the same investigation. Additional live data and component testing may be needed to establish the cause; a fault description is not a replacement instruction. Delphi’s guide to interpreting diagnostic codes explains why follow-up testing matters.
2. Inspect spark plugs for fouling, wear and incorrect gap
With the engine off and cool, have the plugs inspected using the vehicle’s removal procedure. Keep the observations associated with each cylinder. Look for:
- Heavy carbon deposits or wet fouling.
- Rounded or eroded electrodes.
- A gap outside the specification for that engine and plug.
- Cracked ceramic, glazing or other heat damage.
A worn plug’s widening gap increases the voltage needed to fire. Deposits also provide clues: wet fouling can involve fuel, oil or coolant-related problems, so replacing a dirty plug without investigating the underlying condition may miss the cause. NGK’s spark-plug inspection guide explains wear and deposit patterns.
Carbon fouling, damaged plugs and an excessive gap can contribute to misfires. Compare the findings with the correct plug specification before deciding on replacement. NGK’s spark-plug basics describes these failure mechanisms.
If new plugs are needed, follow the application’s gap and torque instructions. Avoid levering against a fine-wire center electrode when measuring or adjusting the gap. NGK also advises installing its plated plugs dry, without anti-seize. NGK’s installation guidance covers these precautions.
3. Check ignition coils, connectors and wiring harnesses
Inspect the coil housings for cracks and the wiring for damaged insulation, corrosion, kinks or broken connectors. Check for contamination around the coils and signs of valve-cover leakage. A replacement coil does not address a damaged connector or an unresolved source of contamination. Delphi’s ignition diagnostic guide recommends these visual checks before electrical testing.
If a cylinder-specific fault is present, a technician may test the coil or move a compatible individual coil to another cylinder and assess the result. This is a controlled diagnostic step, using the correct configuration and service procedure. DENSO’s diagnostic sequence includes testing or swapping coils when appropriate.
Do not pull live ignition components to “feel for a spark.” Have the shop check power supply and the relevant circuits with suitable equipment. Follow the vehicle-specific test procedure instead of applying one resistance value to every coil design.
4. Test fuel delivery before replacing more ignition parts
If ignition checks do not explain the fault, ask for fuel-delivery testing. Fuel-pressure measurements and injector testing help distinguish a supply problem from an individual injector issue. Delphi includes fuel-pressure testers among the tools needed to follow up diagnostic codes. Delphi: diagnostic testing.
A shop may perform an injector-balance test, comparing the pressure change as injectors are activated under controlled conditions. An uneven result calls for further investigation. Use the engine’s specifications; do not loosen fuel lines as a DIY flow test. Innova’s combustion-diagnosis guidance covers injector-balance testing.
5. Inspect the intake for vacuum leaks
Inspect accessible intake connections and vacuum hoses for obvious damage or disconnection. Leaking intake-manifold gaskets, cracked hoses and PCV-system faults can introduce uncontrolled air and disturb the mixture. Innova’s engine-vibration guide identifies these possible causes.
Ask a shop to smoke-test the intake when the leak is not obvious. An automotive smoke machine can help locate leakage in intake and vacuum systems; the technician must follow the equipment and vehicle procedures. Bosch’s smoke-tester manual describes these applications.
6. Escalate suspected compression or mechanical problems
When the electrical and fuel checks do not explain the misfire—or plug inspection raises concern about an internal problem—request a professional mechanical assessment.
A compression test measures cylinder pressure to help assess engine condition. Abnormal readings can point toward worn rings or cylinders, valve problems, or head-gasket/head faults. OTC’s compression-testing guidance describes these diagnostic uses.
A leak-down test helps investigate internal leakage involving rings, valves or head gaskets. Have the technician interpret the results against the manufacturer’s procedure and explain the finding before authorizing repairs. OTC’s cylinder-leakage guidance explains the test’s purpose.
Choosing replacement ignition parts at FixGo
Buy the part that matches both the diagnosis and the vehicle application. A P0300 code does not establish fitment, and these examples are not a set to install together.
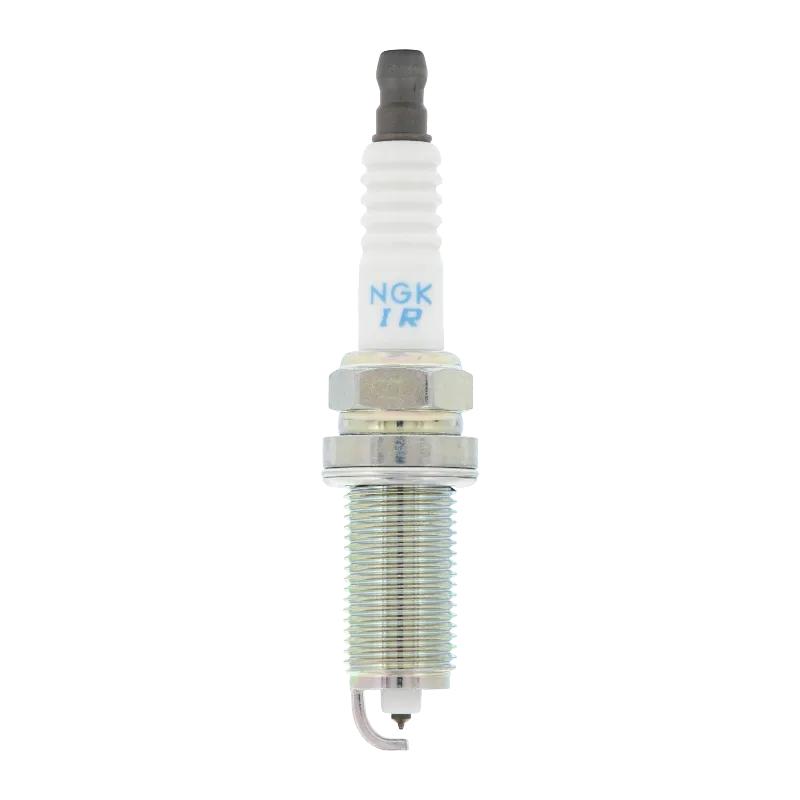
- NGK 92145 Iridium Spark Plug, 1 Pc: an option to check when plug replacement is indicated and this exact part number matches the engine. Confirm the required quantity, gap and installation instructions.
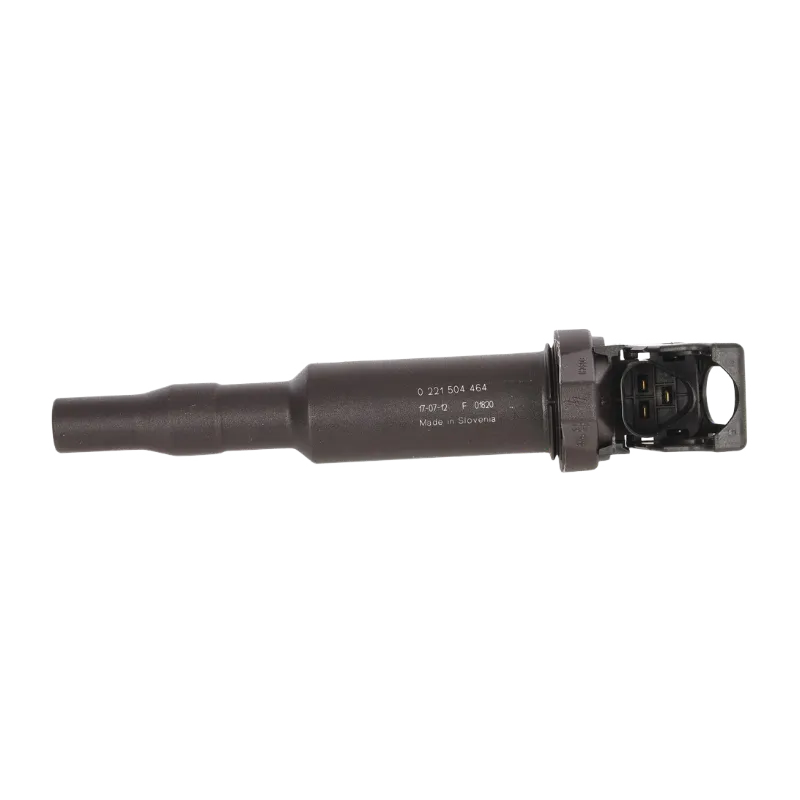
- Bosch Ignition Coil 0221504464: check this exact coil against your vehicle application when testing identifies a coil fault.
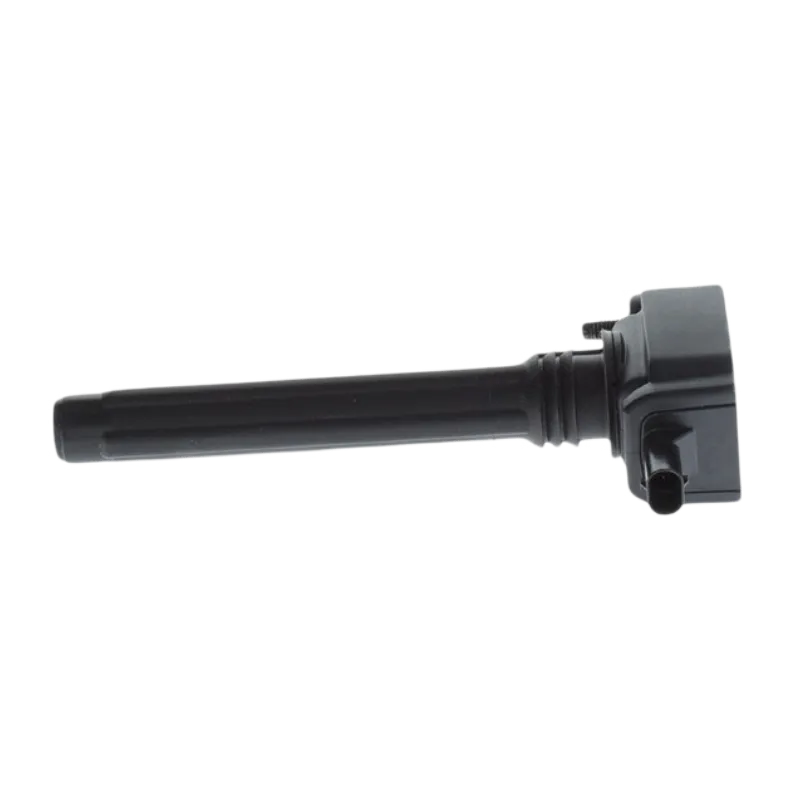
- Bosch Ignition Coil 0221504048: another application-specific replacement option; confirm the part number before ordering.
Product availability, pricing, and exact vehicle fitment vary by year, model, and engine configuration. Check live catalog status and verify specific vehicle application on the FixGo product page before purchasing. Bosch describes its ignition-coil range as built to meet or exceed OE specifications; that describes the range’s design standard, not universal vehicle compatibility. Bosch ignition-parts information.
Confirm the repair before calling the job finished
Ask the technician to explain what failed, what was repaired and how the result was checked. Review whether the original symptoms and relevant fault codes return under safe test conditions. A cleared warning light alone is not proof that the fault is resolved.
If P0420 appears alongside misfire codes, address the engine problem before condemning the catalytic converter. Walker identifies ignition, injectors, compression and fuel contamination as possible contributors and recommends resolving engine trouble codes first. Walker’s diagnostic guidance.
FAQ
Can I drive with a P0300 code?
Do not continue a trip with a flashing light or severe shaking. Get safely out of traffic and arrange assistance. A steady light still needs prompt diagnosis; the code alone cannot establish safe driving distance. Innova’s warning-light guidance.
Will new spark plugs fix P0300?
They can address a diagnosed plug fault, but P0300 also has other possible causes. Confirm the fault before buying parts. Innova’s misfire-code explanation.
What if P0300 returns after replacing plugs and coils?
Ask the shop to check installation and connections, then continue fuel, intake-leak and mechanical testing as indicated. Avoid repeating the same replacements without a diagnostic finding. The steps above explain what each test helps establish.
Bottom line
Treat a flashing check engine light as urgent. Save the scan information, inspect plugs and ignition connections, and test fuel delivery and intake leaks before moving to compression and internal-engine checks. Choose replacement parts only after the cause and application are established.
Once your diagnosis identifies an ignition part to replace, compare the compatible NGK and Bosch options at FixGo using the exact part numbers above.