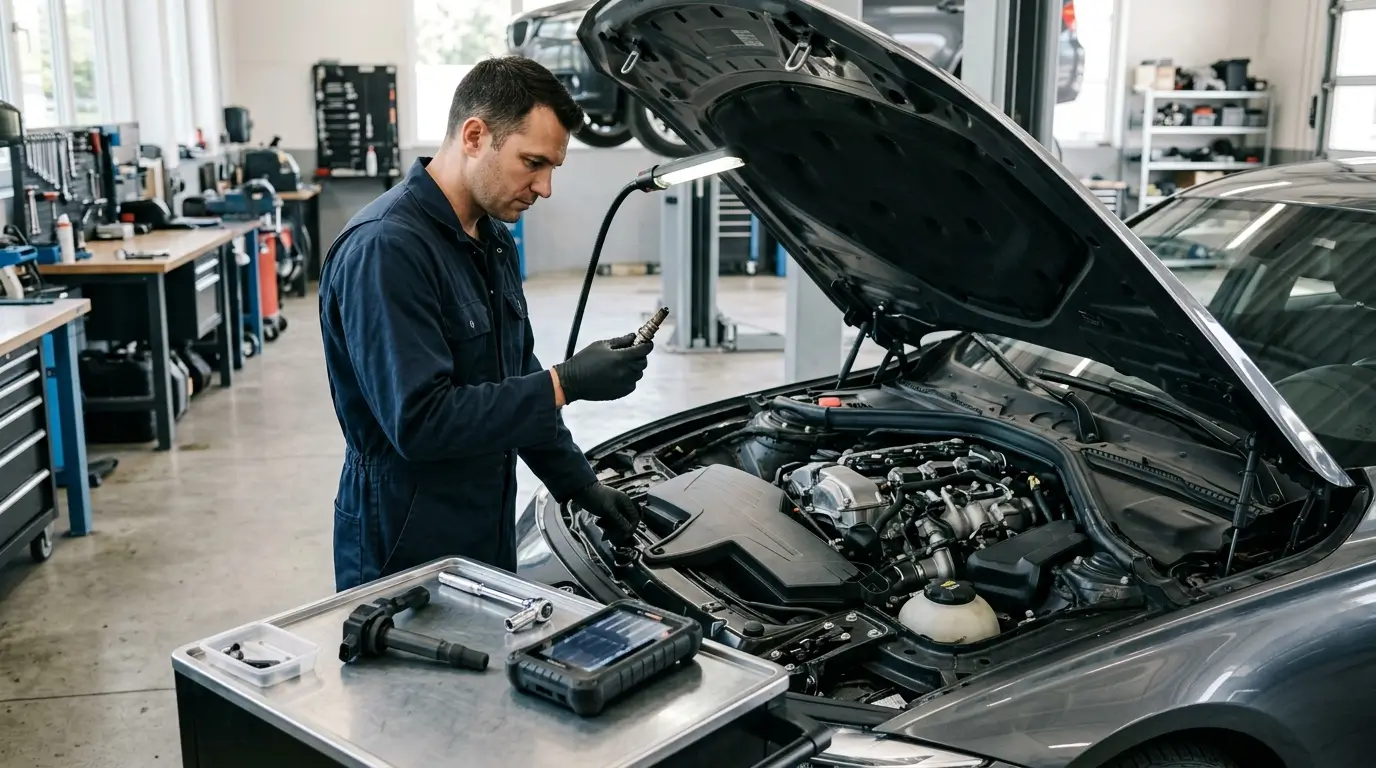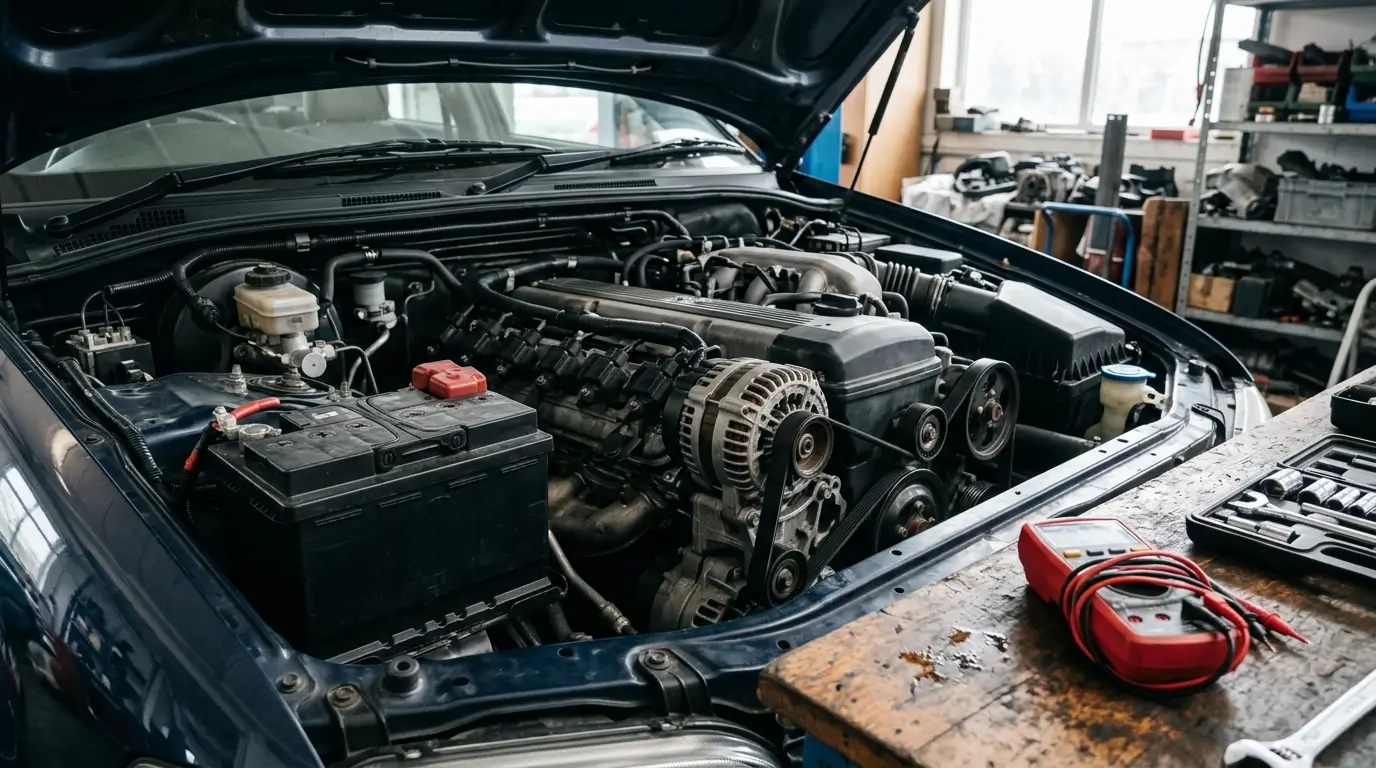
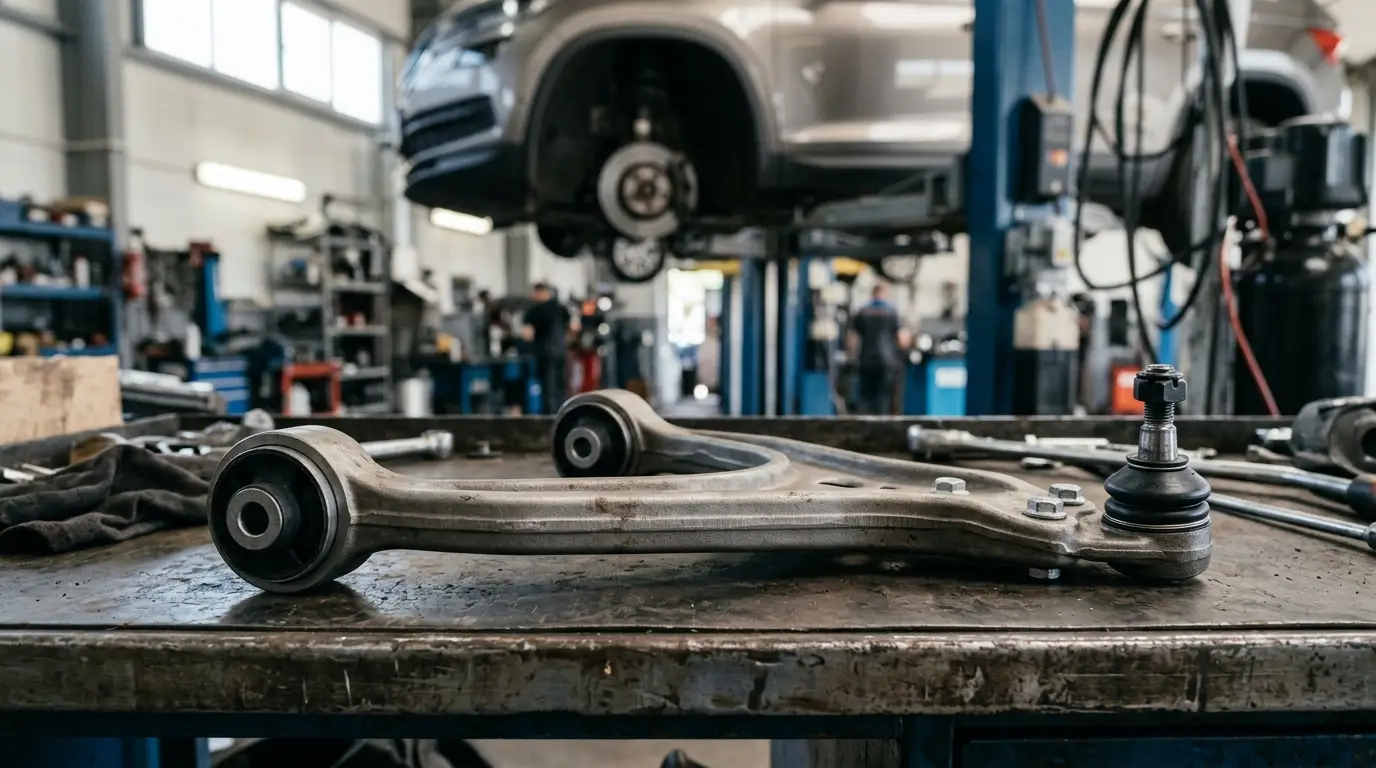
Bad control arm symptoms often begin with a clunk over a pothole, steering that needs repeated correction, or unusual tire wear. Use those clues to arrange a suspension inspection before choosing between a bushing repair, ball joint replacement, and a complete control arm assembly.
What a control arm does
A control arm links the vehicle’s chassis to the wheel upright or steering knuckle. It lets the wheel move vertically while controlling its position as the suspension travels. You may also hear A-arm or wishbone used for this component, depending on its design. Delphi explains control arms and wishbones.
In a typical front arrangement, bushings cushion the chassis-side pivots, while a ball joint permits movement at the wheel end. Modern independent suspensions use different layouts, so identify the actual arm and position before ordering. “Control arm” is a component category, not a universal replacement part. MOOG’s control arm overview.
Four warning signs worth investigating
1. Dull clunking or knocking over bumps
A worn arm assembly can produce a dull, sometimes metallic clunk over bumps or potholes. Failed bushings can allow contact between the arm and frame; a loose ball joint can also knock as the suspension moves. Tell the technician whether the noise occurs over bumps, while turning, or during acceleration and braking. MOOG’s control arm symptoms.
2. Wandering or loose steering
Repeated steering corrections, pulling, or a front end that feels imprecise warrant inspection. Worn bushings can affect tracking, and worn ball joints can make steering feel loose or stiff. These symptoms identify a problem to investigate, not a component to buy without diagnosis. MOOG’s ball joint symptom guide.
3. Steering-wheel vibration at highway speeds
Control arm bushings and ball joints belong on the inspection list, but tires, wheel balance, damaged wheels and other suspension components can also cause vibration. Note the speed range and whether braking changes it; do not deliberately reproduce severe instability at highway speed. MOOG’s vibration guide.
4. Uneven tread wear
Inner- or outer-edge wear can accompany control arm or ball joint problems. Cupping is a different pattern: repeated scalloped or wavy areas around the tread. Neither pattern proves that a control arm has failed, so have the tires, wheels and suspension assessed together. MOOG on ball joint wear and vibration-related tire wear.
For help describing what you see, read FixGo’s uneven tire wear guide.
Upper vs. lower control arm wear
“Lower” does not automatically mean “the arm that fails first.” The suspension’s load path matters.
In a typical short-long-arm arrangement, the upper ball joint follows suspension movement and handles radial forces, while a load-carrying joint supports vehicle weight. Load-carrying joints can wear faster because of that additional stress. In a MacPherson-strut layout, however, the lower ball joint is a follower rather than the joint supporting the vehicle’s weight. MOOG’s explanation of ball joint designs.
Ask the shop to identify which side, which axle, which arm and which joint is defective. Replacing an upper arm because a lower assembly makes noise—or ordering a front part for a rear suspension problem—does not resolve the diagnosis.
How to choose: bushing, ball joint or complete assembly
Bushing failure
A rubber bushing cushions movement and isolates vibration. Tears and separation between rubber and metal are inspection clues. If the bushing is separately serviceable, ask whether the arm and remaining joints are sound before choosing a bushing-only repair. Some arms do not allow separate bushing replacement, and press work can make the complete component more economical to install. Delphi’s bushing replacement guidance.
Ball joint failure
The ball joint is a pivot, with a stud moving inside a socket. Boot damage, escaping lubricant and contamination can accelerate wear; excessive movement must be judged against the vehicle manufacturer’s limits. Some joints are integrated into the arm, changing the replacement options. A squeak or torn boot deserves inspection, but the repair decision should include the joint’s condition and serviceability. MOOG’s ball joint replacement guide.
Complete preassembled control arm
A complete assembly is useful when several included wear components need attention or separate servicing is impractical. Confirm what “complete” includes for the exact part: ball joint, bushings and hardware are separate questions.
For example, Dorman specifies a preinstalled ball joint and bushings for its 526-953 assembly. That can eliminate those individual installation operations, but it does not make the arm universal or remove the need for correct installation and alignment. Dorman’s 526-953 specifications.
A useful question for the estimate is: “What remains old if we replace only this bushing or joint?” Ask the technician to explain the condition of those remaining components before authorizing the repair.
When the vehicle should not be driven
A severely worn ball joint can separate and cause immediate loss of control. Wheel separation is also a possible catastrophic outcome of ball joint failure. Treat a visibly displaced wheel, sudden major steering change, or suspected structural failure as a reason to stop safely and arrange towing—not another test drive. MOOG’s safety guidance and ball joint replacement guide.
A fractured control arm can also cause abrupt handling changes. GM documented that risk in its recall for certain 2008–2012 Chevrolet Impala police vehicles; that recall did not cover the non-police arms. The broader lesson is to take structural damage seriously, rather than treating every clunk as harmless. GM safety bulletin 12104.
A replacement arm alone may not address damage at the connection. MOOG’s installation instructions warn that a damaged or worn steering-knuckle attachment can lead to stud breakage, steering loss and wheel separation. Have the mating components inspected as part of the repair. MOOG installation safety instructions.
Understanding the brands in FixGo’s catalog
FixGo’s control arm brand assortment includes ACDelco, Dorman, MOOG and Mevotech. Compare the exact application and assembly contents before deciding between an OE replacement and an aftermarket option.
- ACDelco: The catalog separates GM Original Equipment, Gold (Professional), and Silver (Advantage). Gold control arms are described as premium aftermarket replacements; “Advantage” is associated with Silver. Check the product line rather than treating every ACDelco arm as an original-equipment part. ACDelco chassis classifications and Gold control arms.
- Dorman: Look closely at assembly contents. Its 526-953 is a steel, non-adjustable arm with a preinstalled ball joint and rubber bushings. Those details matter when comparing a loaded assembly with a repair that retains existing components. Dorman specifications.
- MOOG: Its control arm range includes preinstalled bushings and boots, with application-specific joint and bearing designs. Check whether the selected part uses a greaseable joint and follow that part’s maintenance instructions. MOOG control arms.
- Mevotech: Its range spans Original Grade, Supreme and TTX, including preassembled control arm solutions. Compare the actual assembly and its included components rather than choosing from the brand name alone. Mevotech control arms.
Exact-part options to check
The following FixGo listings are application-specific options, not interchangeable upgrades. Match the manufacturer’s application, installation position and required assembly contents before purchase:
Professional labor cost vs. DIY complexity
Compare repair quotes by scope: ask for removal-and-installation labor, any separate bushing press work, required hardware, and alignment to be itemized. Have the shop identify which arm each line covers. For a bushing-only repair, ask whether the extra labor outweighs retaining the existing assembly; Delphi notes that specialized bushing work can make complete-component replacement more economical. Delphi’s repair tradeoffs.
DIY requires more than being able to remove a wheel. Delphi rates control arm replacement as medium-to-high difficulty and advises allowing at least three hours depending on tools and skill. That is project-planning guidance, not a vehicle-specific professional labor allowance. Delphi’s replacement tips.
Never work under a vehicle supported only by a jack. Use properly rated jack stands or a vehicle lift at the manufacturer-specified support points. Depending on the suspension design, a control arm may be loaded by a coil spring or torsion bar. Before disconnecting the arm or ball joint, follow the vehicle manufacturer’s procedure to safely support components and control stored spring energy. If you lack the required equipment or training, have a qualified technician perform the repair. HSE vehicle-support guidance, OTC coil-spring safety instructions and MOOG torsion-bar control-arm instructions.
Use the vehicle’s service procedure and specified tools; do not borrow another model’s torque values. MOOG’s instructions require appropriate experience and warn against hammering the steering knuckle during joint separation. If you cannot safely perform the specified procedure, choose professional installation. MOOG installation instructions.
Finish with four-wheel alignment checks
Make alignment a required checkpoint in the repair plan. Arrange professional four-wheel measurements and the adjustments prescribed for your vehicle; a straight steering wheel alone is not an alignment report.
Repair worn components first, then check toe, camber, caster and thrust angle as applicable. Adjustable independent rear suspensions can receive rear-angle corrections; a solid rear axle may instead call for a thrust alignment. The vehicle’s service procedure determines the appropriate operation. MOOG’s alignment explanation.
Installation position matters, too. Follow the required ride-height procedure when tightening bushing pivots, and establish the correct ride height before alignment. Tightening relevant rubber-bushed pivots with the suspension hanging can preload the bushings incorrectly. Mevotech’s ride-height guidance and Delphi’s installation tips.
For ADAS-equipped vehicles, have the shop check the manufacturer’s calibration requirements following the repair and alignment. Delphi specifies a complete four-wheel alignment including thrust-angle measurement for these vehicles. Delphi’s ADAS guidance.
FAQ
Can I identify a bad control arm just from a clunk?
No. A worn ball joint and a failed bushing can produce overlapping symptoms. Describe when the sound occurs and have the source inspected before ordering parts. MOOG’s ball joint symptoms.
Must both sides be replaced together?
Have both sides inspected and follow the application-specific instructions. Some design changes require paired replacement: Mevotech documents this for specified early Chrysler/Dodge front upper arms with revised caster geometry. That is a particular application requirement, not a rule for every vehicle. Mevotech’s paired-replacement bulletin.
Will an alignment fix worn bushings or a loose ball joint?
No. Worn or broken components need repair before the final alignment. Ask for the mechanical findings and alignment results as separate parts of the job. MOOG’s alignment procedure.
Should I also replace shocks and struts?
Have them inspected during suspension diagnosis; replacement should follow their condition. For a separate overview, see FixGo’s shocks and struts replacement guide. Delphi’s inspection advice.
Bottom line
Use symptoms to start an inspection, then choose the repair around the failed component and the condition of the whole assembly. Confirm the exact part and finish with the vehicle’s prescribed alignment checks. Serious steering instability or suspected separation calls for towing and professional assessment.
Once the repair scope is clear, browse FixGo’s ACDelco, Dorman and Mevotech parts by application, and compare the assembly contents with your technician’s recommendation.
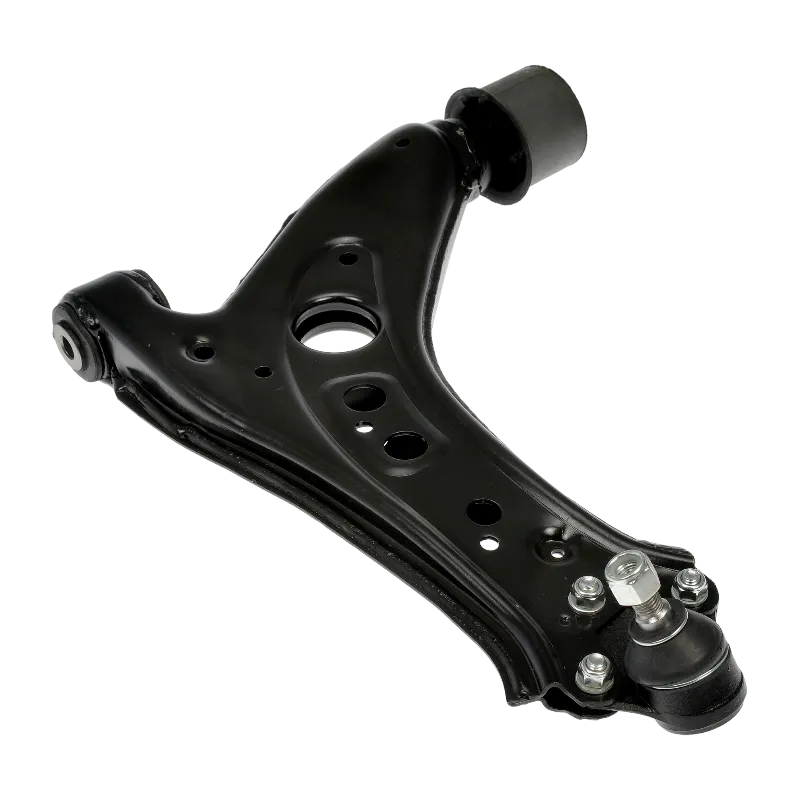
_1月/ACD-CA-96.jpg)
_1月/ACD-CA-130.jpg)
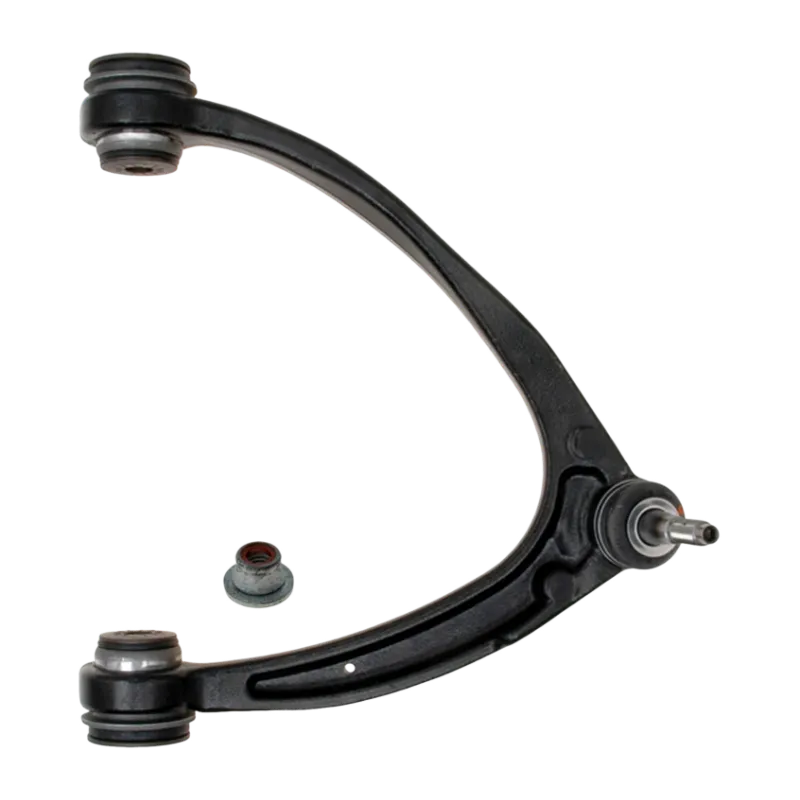
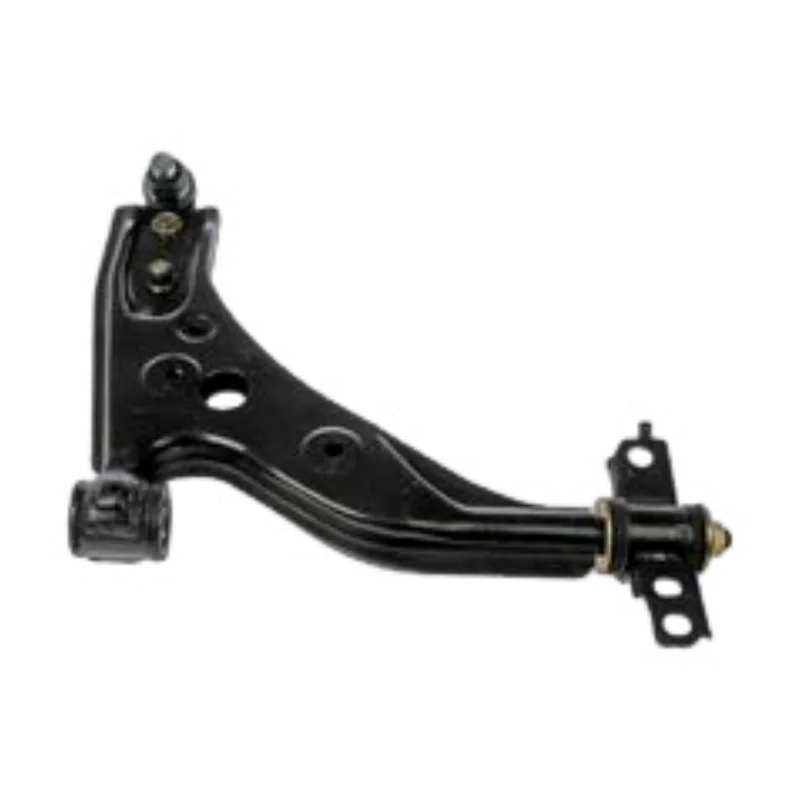
_1月/ACD-CA-62.jpg)