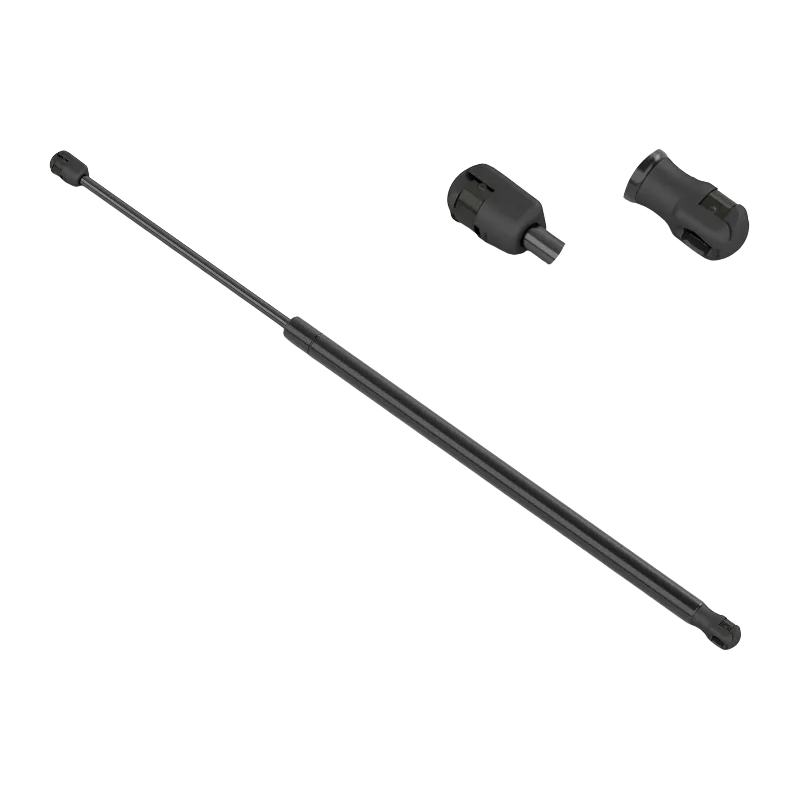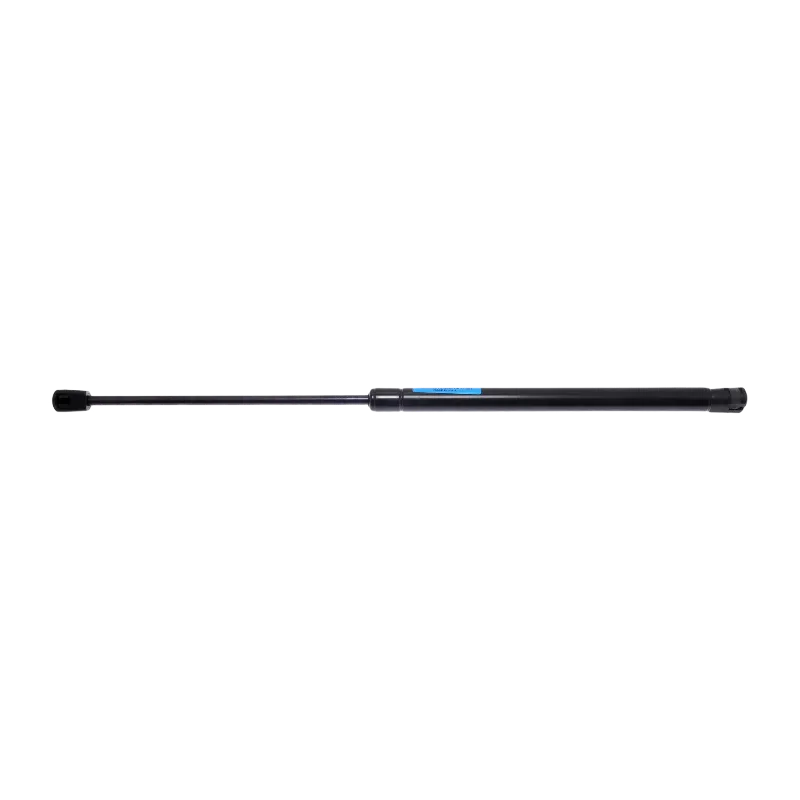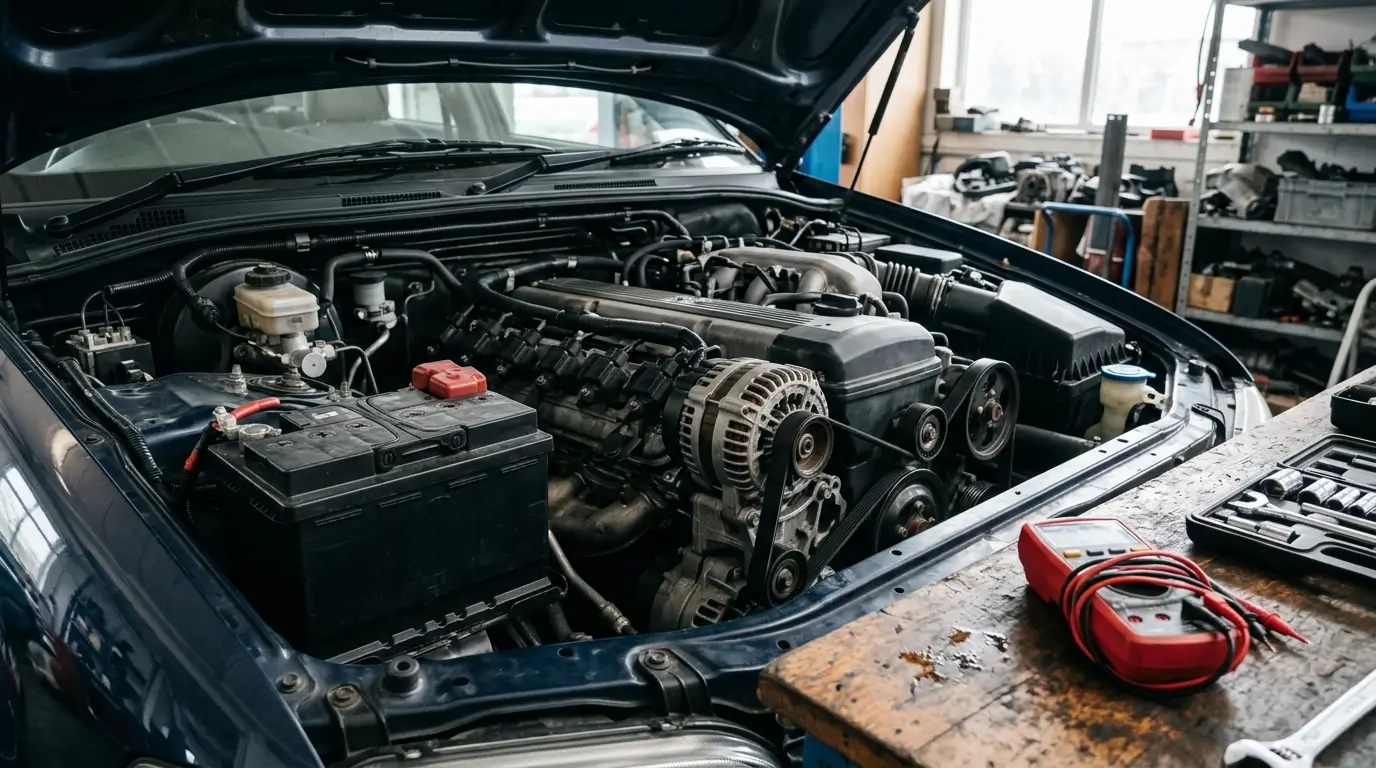
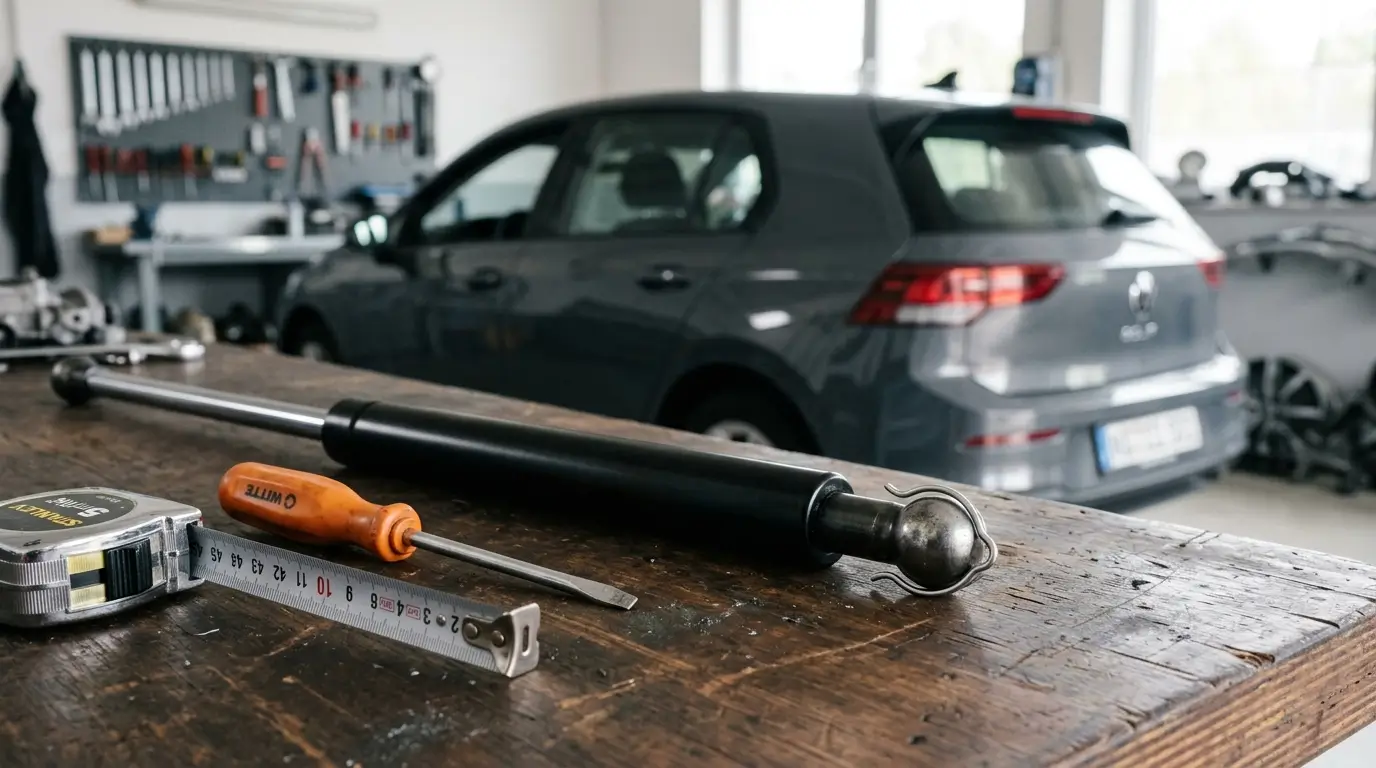
Lift support replacement starts with keeping the hood or hatch safely open while you identify the correct replacement and its retaining clips. This guide covers ordinary gas struts with removable ball-socket ends, including the measurements to record before ordering.
A panel that drops needs attention now. Arrange a helper before disconnecting anything, replace both supports on a two-support application, and never heat or puncture a gas strut.
Why a hood or hatch starts dropping
A gas lift support uses pressurized nitrogen to push its rod outward. Oil inside lubricates the sealing surfaces and, in designs with hydraulic damping, helps control movement near the end of travel. Supporting the panel and slowing its movement are related but different jobs. SUSPA explains gas-spring operation and damping.
Watch for three useful clues:
- It struggles particularly on cold mornings. Lower temperature reduces gas pressure and extension force. An already weak support may then fail to hold the panel open. Cold-related pressure reduction does not, by itself, mean nitrogen has suddenly leaked out.
- It gradually needs more help to stay raised. Gas can escape over time through the sealing system. Wear, dirt and scratches can worsen seal performance.
- There is obvious oil leakage along with poor operation. Loss of the oil needed for lubrication and hydraulic damping is a reason to have the unit assessed or replaced. A slight lubricating film on the rod alone is not the same as an obvious leak.
These distinctions follow SUSPA's explanation of temperature, aging and seals. The oil-loss concern follows from the oil's documented functions; it is not a way to diagnose every dropping panel by appearance alone.
Do not assume a hatch is safe because it stays up in a warmer garage. Stabilus specifically notes that cold can prevent a panel from remaining securely open. Keep control of a suspect panel rather than testing it by standing underneath. Stabilus temperature guidance.
First identify which mechanism you have
Look at the existing part, both mounting ends and the replacement instructions before buying tools. This walkthrough applies to a conventional gas support with accessible, removable ball sockets.
A powered liftgate drive and a pickup's tailgate-assist damper need their own procedures. A downward-opening pickup tailgate is not automatically a paired hatch-support application: StrongArm's GL2003 tailgate-assist instructions, for example, specify a single driver-side unit. Do not add a second one because a general guide says “replace in pairs.” StrongArm installation guidance.
For a hood, hatch or rear glass originally using two ordinary lift supports, plan to replace both. StrongArm recommends pairs for smooth lifting and lowering. Replace one side completely before removing the other, while your helper continues supporting the panel. StrongArm paired-replacement recommendation.
How to measure extended length, compressed length and stroke
Start with the manufacturer's application catalog and the existing part number. Use published dimensions to cross-check the match; manual measurement is a fallback when reliable specifications are unavailable. Record the installation position. Photograph the rod direction and both connectors. Keep a worksheet with these fields:
- Vehicle and exact application: hood, hatch, trunk lid or rear glass.
- Left or right side, if the application distinguishes them.
- Existing part number and specified extension force.
- Extended length, compressed length and stroke, all in one unit.
- Both end-fitting types and their attachment dimensions.
The StrongArm universal guide separates length, force and fitting type for a reason: a similar-looking length is not enough to choose a replacement. Use the measurements to cross-check the correct application, not to bypass vehicle fitment.
1. Extended length: attachment center to attachment center
With the strut fully extended, measure from the center of one attachment to the center of the other. On a ball-socket unit, use the socket centers; do not measure only the black tube or include the outer edges of the fittings. Record the unit beside the number.
If removal is needed to see the centers, follow the supported-panel removal procedure below. Do not detach a support merely to measure it while the hatch is unsupported. Stabilus specifies center-to-center measurement with the spring fully extended. Stabilus measurement guide.
2. Compressed length: the same centers at full compression
Use exactly the same endpoints with the strut fully compressed. Stabilus warns that some springs cannot be compressed by hand; an installed measurement may be necessary.
Never squeeze yourself beneath a closing panel to reach the tape. If there is no safe access, obtain the compressed dimension from the exact part's manufacturer drawing or have it measured professionally. Do not force a loose strut in a vise. Also distinguish the vehicle's closed-position mounting distance from the strut's mechanical minimum: do not assume the vehicle uses every bit of available travel.
3. Stroke: subtract the two lengths
Stroke = fully extended length − fully compressed length. Keep the same fittings and units for both readings. Stroke is rod travel, not the overall tube length. Camloc defines these three dimensions in its gas-spring terminology guide.
Before ordering, check the application, force specification and connectors as well as all three measurements. Do not choose a higher-force unit simply because its length matches. Gas-spring design must suit the application, and bending or side loading should be avoided. Stabilus handling guidance.
How to replace common ball-socket lift supports
Prepare the panel and tools
Have the correct replacement supports, a small flathead screwdriver, eye protection and a capable helper ready. Read the supplied instructions before touching a clip. With the ignition off, have the helper securely hold the hood or hatch throughout removal and installation. If the old support has electrical terminals attached, carefully disconnect them according to the vehicle and replacement-part instructions before removing the support. Do not pull on the wiring.
Do not rely on the remaining gas strut to hold the panel. Use a prop rod only if the vehicle and replacement instructions expressly permit that method. Do not improvise with a broomstick or loose piece of wood; the manufacturer procedure cited here calls for another person holding the panel. If you cannot support it safely, stop. Monroe replacement safety instructions.
Release the spring band on a plastic ball socket
- Identify the metal spring band around the socket, often called a retaining clip or C-clip.
- Place the small screwdriver beneath the band and lift it just enough to release its grip. On this connector type, leave the clip attached to the socket.
- While holding the old support, gently pull the socket away from its ball stud. Your helper must keep the panel steady.
- Repeat at the other end of that same support. Keep any hardware required by the replacement instructions.
- Position the replacement as directed, preserving the old rod/cylinder orientation unless instructed otherwise. Press each new socket onto its ball stud until it snaps into place.
This is the plastic-socket method in Stabilus's removal and installation instructions. A metal socket with a wire safety retainer may require withdrawing and reinstalling the wire. Eyelets and bolted ends use other procedures. Stop if your connector does not match.
Complete the second side and check the result
With the first support fully installed and your helper still holding the panel, replace the second support in the same way. Check that every socket and retainer is seated and all required hardware is secure. Restore applicable electrical connections and protective caps according to the instructions.
Keep your hands clear of hinges and pinch points as you carefully move the panel through its normal travel. If a connection shifts, the panel binds or it still will not remain open, stop and recheck the part and installation with qualified help. Do not slam it closed to overcome resistance.
Never nick the polished rod, force the strut sideways or add lubricant as a substitute for replacement. Stabilus describes these springs as maintenance-free and warns against rod damage and modifications. Stabilus service guidance.
Stabilus and StrongArm options on FixGo
The following FixGo listings are examples of hood lift supports. Check each part number against your exact vehicle application and installation position. They are separate options, not an interchangeable pair.
- Stabilus Hood Lift Support 5B-135276: review this listing when your application calls for that part number. Confirm the hood position and required quantity before ordering.
- StrongArm Hood Lift Support 6586: check this exact part against your vehicle and existing support. Do not use it for a hatch merely because it has a similar appearance.
Open the current item page to check vehicle compatibility, availability, shipping details and return conditions. Check whether each listing contains one support or a pair. The quantity required for the vehicle is not necessarily the quantity included in one package. Confirm whether the left and right sides use the same part number.
FAQ
Is lift support replacement really a five-minute job?
Treat five minutes as a goal, not a deadline. StrongArm describes a basic replacement as a ten-minute screwdriver job; unfamiliar clips, access and safe setup can require more time. Have the parts and a helper ready, then work at a controlled pace. StrongArm's replacement overview.
Should I pull the C-clip all the way off?
Not on the plastic ball-socket spring-band design described above. Pry it back only enough to release the socket. Other retainers, including some wire clips, use a different removal method; identify yours first.
Can I heat, drill or open a weak strut to fix it?
No. A weak unit must still be treated as pressurized. Do not heat, puncture or open it during DIY replacement. Follow the manufacturer's disposal guidance rather than trying to vent it yourself. Monroe's pressurized-unit warning.
Bottom line: prepare before you order
Record the part number, application, force, end fittings and center-to-center dimensions. Arrange safe panel support before starting, and allow enough time to check every connection.
Use the Stabilus and StrongArm listings above to compare the correct replacement on FixGo, then review the current item policies before checkout.