Shocks and struts replacement starts with identifying the problem, then matching the repair to your vehicle and your ability to do it safely. This guide walks through five decisions: symptoms, the correct part and position, package contents, DIY limits, and the checks that finish the job.
1. Is the shock or strut failing?
Look for a pattern of symptoms instead of ordering a part because of one sound:
- Repeated bouncing after a bump: the vehicle keeps moving up and down instead of settling.
- Excessive nose dive during braking: the front drops sharply, sometimes followed by continued bobbing.
- Excessive body roll in turns: the body sways more than expected while cornering.
- Cupped tire wear: scalloped, uneven patches appear around the tread.
- Knocking or clunking over rough roads: worn damping components can bottom out, but worn mounts can also make noise.
- Hydraulic fluid on the housing: visible leakage can indicate a failed seal.
These are recognized Monroe warning signs, not a way to identify an exact replacement part from the driver's seat.
How to use the bounce test
With the vehicle parked securely on level ground, push down firmly on a corner from outside the vehicle, then release. Watch whether the body rises and settles or continues oscillating. Repeat at the other corners. Continued bouncing calls for further inspection; avoid declaring a corner healthy simply because you cannot make it bounce much.
Gabriel describes this as a quick check and recommends professional inspection. Combine it with what you observe in ordinary driving and a visual examination. Keep the wheels on the ground for this initial screen; do not crawl beneath an unsupported vehicle.
Distinguish leakage from light weepage
A slight oily film is different from a housing that is largely wet or has fluid dripping from it. Monroe distinguishes acceptable minor weepage from leakage requiring replacement. Look at the extent of the wet area instead of treating every trace of oil as failure.
Persistent noise deserves inspection of the mounts and surrounding suspension. KYB's diagnostic guidance also identifies damaged rods and mounts as problems. If handling feels unsafe, arrange an inspection before driving further; do not try to confirm the problem with hard braking or abrupt turns.
2. Which exact part and position do you need?
Shocks and struts do different jobs
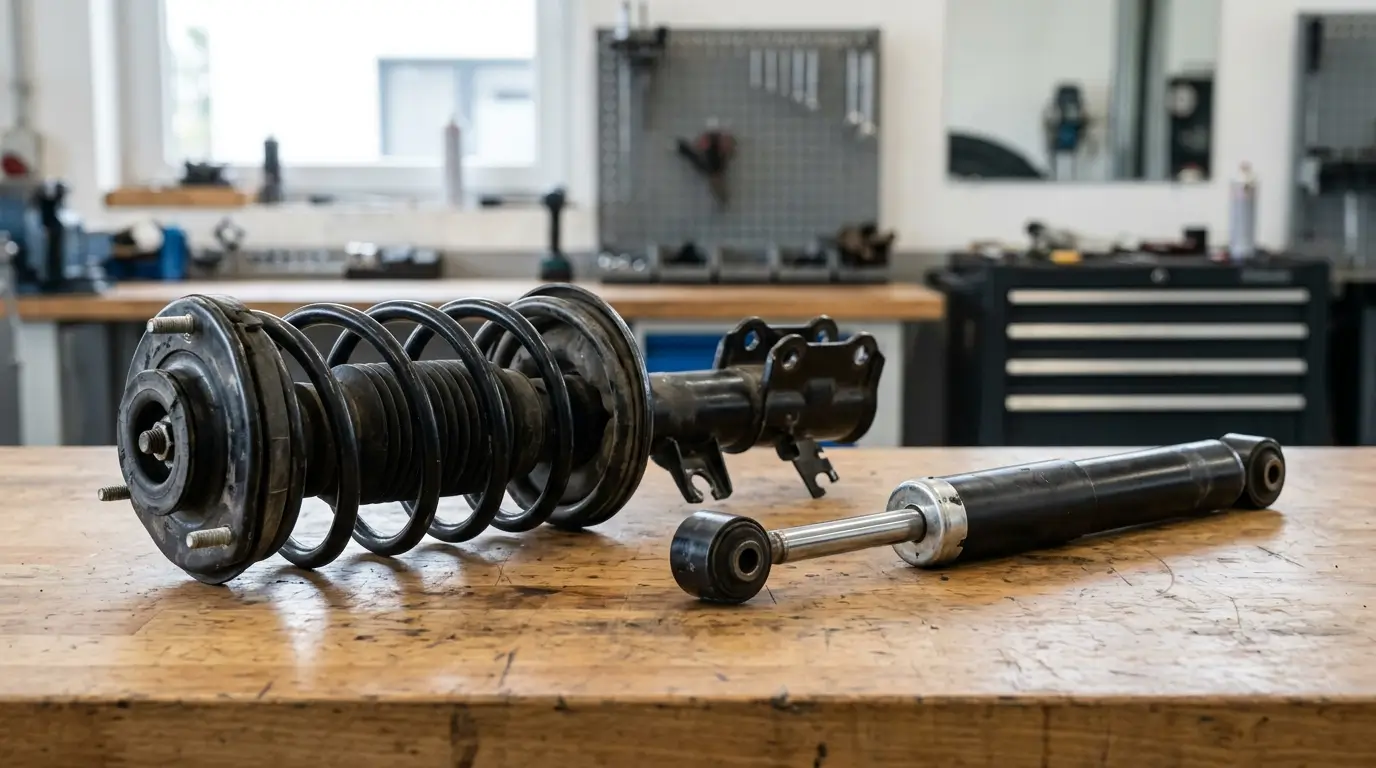
A conventional shock absorber controls suspension movement. A strut also serves as a structural suspension component; its assembly typically incorporates the coil spring and upper mount.
You may encounter front struts with separate rear shocks, but that layout is not a fitment rule. Vehicles can use other configurations, including rear struts. Match what the vehicle requires at the affected axle. Monroe explains the construction and position differences.
Narrow the catalog, then check the details
On FixGo, begin with the vehicle filter. Use it to narrow the catalog, then work through this checklist before ordering:
- Vehicle identity: confirm the year, make, model and the engine or trim details requested by the application listing.
- Axle and side: verify front versus rear and any left/right designation.
- Assembly format: select a complete loaded assembly or a bare strut deliberately.
- Drive type: confirm FWD versus AWD and read any application exclusions.
- Quantity: verify whether the listing contains one unit or an axle pair.
Write those details down together with the part number. A useful selection record is: vehicle, drive type, axle, side, assembly type, quantity, included components and fulfillment option. Resolve a missing detail before ordering rather than relying on a similar-looking photograph.
Manufacturer applications distinguish vehicle configurations: Monroe's application catalog includes drive-type exclusions and axle positions. Use the current application information for your vehicle; an example for another model is not a match.
Loaded assembly or bare strut?
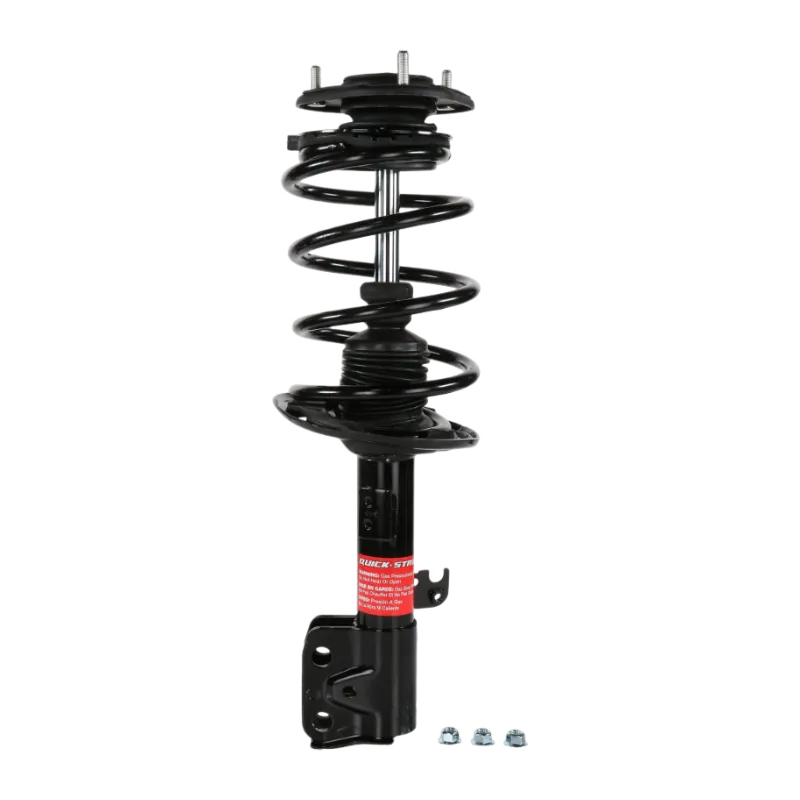
A complete loaded strut, often called a quick strut, arrives with the spring and mount already assembled. A bare strut is the replacement strut without that complete surrounding assembly. Installing it involves rebuilding the assembly with suitable existing or replacement components and using a spring compressor.
For a capable DIYer, an intact, correctly matched loaded assembly avoids the spring-transfer operation. A bare strut belongs in a repair plan that includes professional assessment of the spring, mount and other components. Monroe's loaded-versus-bare comparison explains this distinction.
Featured suspension guide: Monroe, FCS AUTO and KYB
Choose by vehicle, axle position and assembly format. These FixGo listings cover different repairs: a Corolla front-left loaded strut, a Tacoma or 4Runner bare front suspension strut, and a full-size SUV rear shock.
Monroe Quick-Strut #172990: a complete front-left assembly
For a 2014–2019 Toyota Corolla application, consider the Monroe Quick-Strut Front Left Strut & Coil Spring Assembly, Part #172990. It arrives preassembled with the coil spring, making it an option for a capable DIYer who wants to replace the complete assembly without transferring the old spring.
The practical benefit is avoiding the spring-compressor operation and its associated spring-release risks. Monroe explains that a loaded assembly needs no spring compressor. Keep both the new and removed assemblies intact; safe support, correct fastener torque and the vehicle manufacturer’s alignment procedure still matter.
This is a front-left, one-piece listing, not a front axle pair. Match the corresponding right-side application separately when planning an axle-pair replacement, and confirm the exact Corolla configuration before ordering.
FCS AUTO #336341: a bare front suspension strut
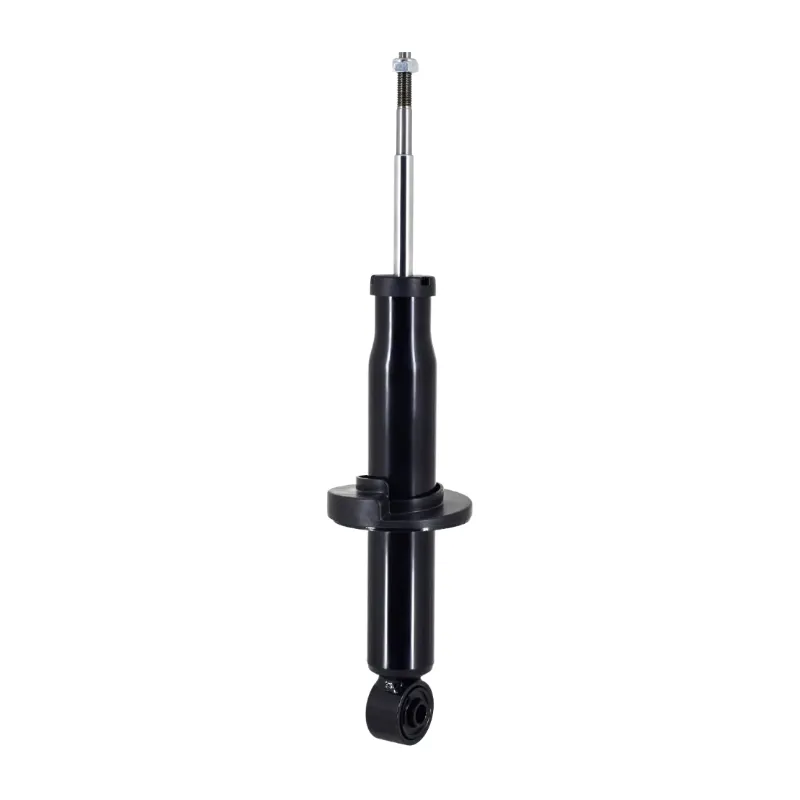
FCS AUTO #336341 is a bare front suspension strut, sold individually for specific Tacoma and 4Runner applications. It is not a standalone rear-style shock absorber or a preassembled strut assembly. Installation requires removal of the original spring assembly and controlled spring compression to transfer or replace its components. Have a qualified technician perform this work unless you have the specified equipment and training.
Check the exact 2001–2004 Toyota Tacoma or 1996–2002 Toyota 4Runner application, including drive type and all fitment notes, before ordering. The part-specific listing identifies a bare strut sold individually; FCS explains the spring-transfer difference between bare struts and complete assemblies. Plan the matching front pair and have the surrounding mounts and components inspected.
KYB #344384: rear damping for full-size SUVs
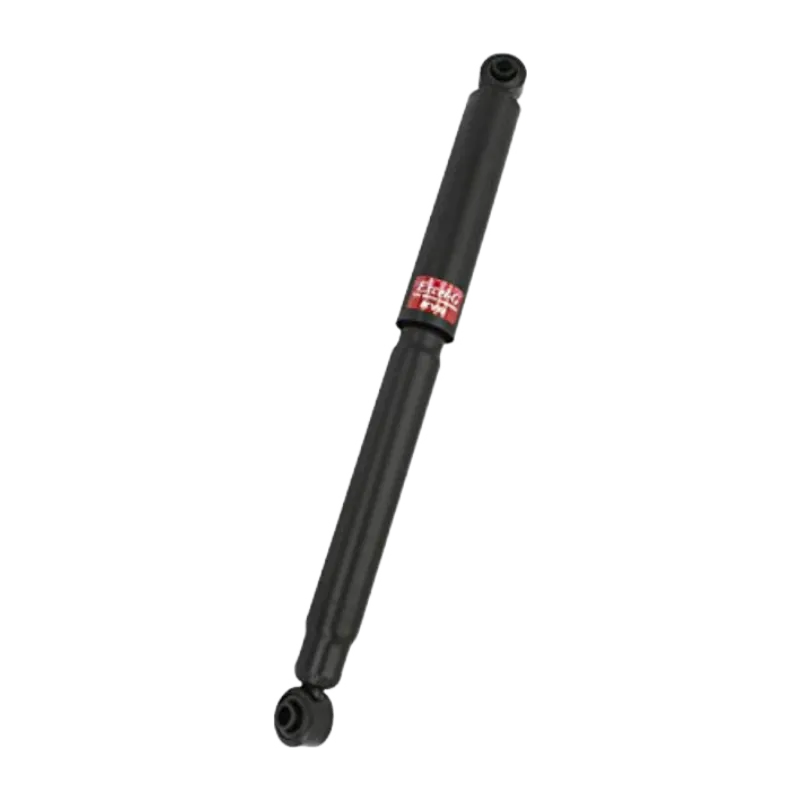
For a Chevrolet Tahoe, Chevrolet Suburban or GMC Yukon needing rear damping replacement, consider the KYB Rear Shock Absorber, Part #344384 only after matching the original suspension equipment.
These model years are only a starting point. Before selecting KYB #344384, check the VIN, original suspension equipment and RPO codes for Autoride, Magnetic Ride Control, air suspension or automatic leveling. A conventional shock must not be assumed to replace an electronically controlled or self-leveling unit.
Read the following exclusions together with the year and drive-type application:
- 2000 Chevrolet Tahoe and GMC Yukon: new-style body with a 4.8L V8 or 5.3L V8, RWD or 4WD; excludes Z55 Autoride and Premium Smooth Ride suspension. Do not apply this listing to old-style 2000 models.
- 2001–2006 Chevrolet Tahoe: RWD or 4WD; excludes Z55 Autoride and Premium Smooth Ride suspension.
- 2001–2006 GMC Yukon: RWD, 4WD or AWD; excludes Z55 Autoride and ZW7 Premium Smooth Ride suspension.
- 2000–2006 Chevrolet Suburban 1500: excludes electronic and Premium Smooth Ride suspension.
- 2000–2001 Chevrolet Suburban 2500, RWD: the coil-spring-front-suspension row excludes Z55 Autoride; the torsion-bar-front-suspension row excludes Z55 Autoride and Quadrasteer.
- 2002–2013 Chevrolet Suburban 2500, RWD, and 2000–2013 Suburban 2500, 4WD: excludes Z55 Autoride and Quadrasteer.
These distinctions appear in KYB’s application catalog and the part-specific application notes. For the later application ranges, the #344384 fitment rows specify:
- 2015–2016 Chevrolet Tahoe and GMC Yukon: excludes electronic suspension, Increased Capacity Package and Police Package.
- 2015–2016 Chevrolet Suburban: excludes electronic suspension and Increased Capacity Package. This is the Suburban application, not a Suburban 2500 row.
Each exclusion applies throughout its stated year range. Verify the exact trim and original equipment in the current KYB catalog, then confirm rear axle fitment. The FixGo listing contains one shock; plan the required quantity for a rear axle pair.
Before ordering any of these products, verify your exact vehicle year, make, model, drive type and axle position. Check left/right designation where applicable, application exclusions, package contents and quantity. Use the delivery or installation option available for your location; FixGo's fulfillment and returns details are below.
3. What should be in the package?
For a complete loaded strut assembly, check for:
- The strut itself and coil spring.
- Upper strut mount.
- Dust boot and jounce bumper, also called a bump stop.
- Spring insulators and the application-specific components listed by the manufacturer.
These are the main elements in Monroe's complete-assembly description. Check the exact package description before treating “complete” as confirmation of every fastener needed for your vehicle.
For a standalone shock absorber, check the supplied bushings and mounting hardware individually. Do not assume every shock includes every bushing, washer, spacer, nut and bolt. KYB's installation tips say most units include a small-parts kit and advise checking its contents; some original components may be reused where the instructions specify. When a new mounting nut is supplied, use it as directed.
Unpack the parts and compare the contents with the instructions before taking the vehicle apart. Set aside the installation sheet and identify missing items while the vehicle is still usable.
Why replace both sides of the axle?
Replace shocks or struts in pairs across the affected axle: front left with front right, or rear left with rear right. Replacing only one worn unit can leave different damping behavior on the two sides. Monroe recommends axle pairs for consistent performance.
An axle pair is not a diagonal pair. It also does not automatically mean replacing all four corners; have the other axle assessed on its own condition.
4. Can you DIY the work?
Begin by separating an outside-the-vehicle inspection from suspension removal. A bounce screen does not require the same equipment or experience as replacing a structural suspension component.
Tools and support
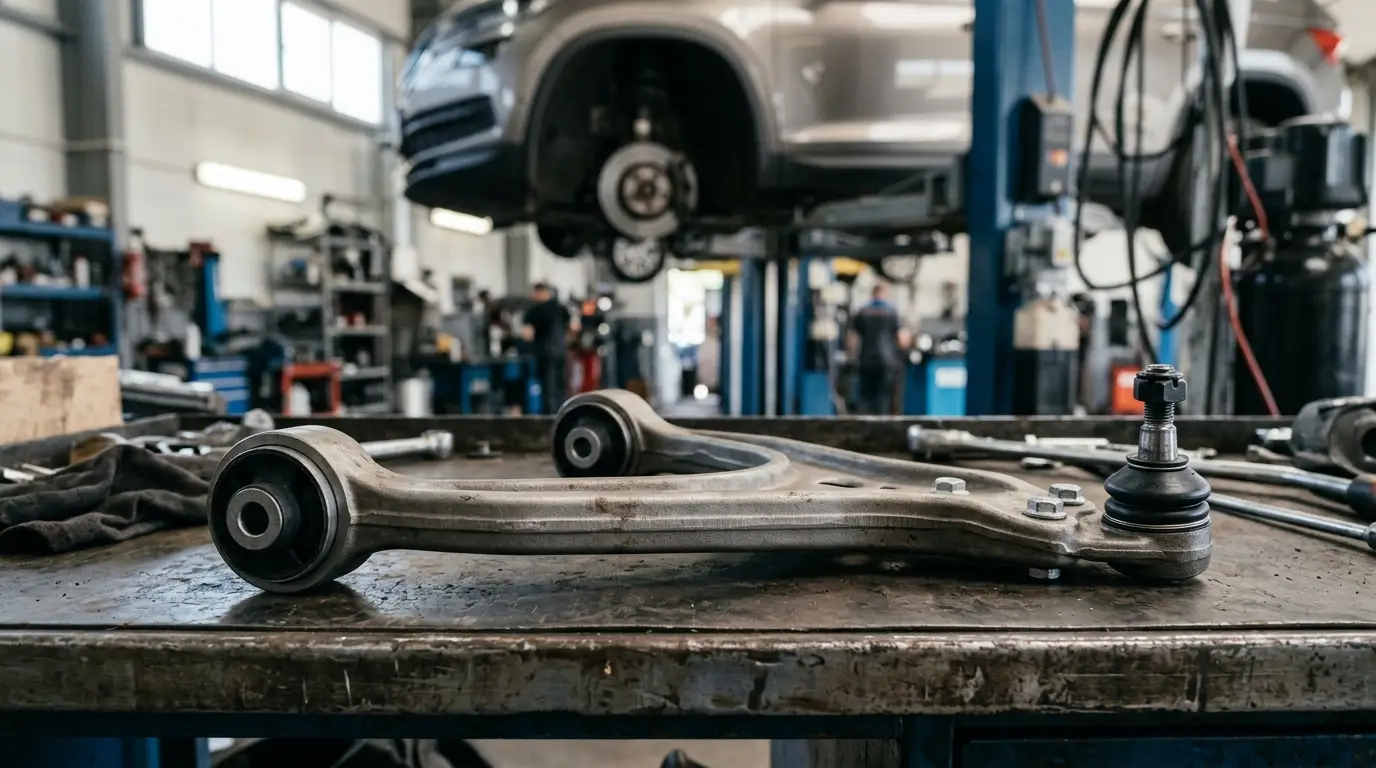
For replacement work, plan for a suitably rated heavy-duty floor jack, jack stands, torque wrench, breaker bar, sockets and wrenches, plus eye and hand protection. Use the vehicle's specified support points. Never work under a vehicle held only by a hydraulic or tire-change jack. Suspension components may also need separate support during removal. These precautions follow KYB's tool and safety guide.
Read the vehicle service procedure and the exact part instructions before starting. If you cannot safely support the vehicle, identify the fasteners or obtain the required torque specifications, have a professional perform the replacement.
Keep spring compression out of a home repair plan
Do not use manual spring compressors to rebuild bare struts as a DIY shortcut. A compressed coil spring stores dangerous energy; an unexpected release can cause severe injury or death. Choose correctly matched, preassembled loaded struts for DIY work within your abilities, or have a trained professional handle the repair.
Keep the loaded assembly intact. Do not remove its center piston-rod nut to take it apart. The removed old assembly still contains a spring under tension. Monroe's installation warnings specifically address these hazards. A loaded assembly removes the need to transfer the spring; it does not remove the need for safe lifting and correct installation.
Do not heat, puncture, drill or open a gas-charged shock or strut yourself; follow the manufacturer’s handling and disposal instructions. Monroe’s handling warning and disposal instructions explain the precautions for pressurized units.
FixGo delivery, installation options and returns
Shipping cost, delivery time, installation availability, and return eligibility vary by item and destination. Check each product page, your ZIP code, and FixGo’s current Shipping and Return Policies before ordering. Confirm whether the selected shop can perform the repair and whether alignment is available and priced separately.
5. How do you verify the finished job?
Finish with checks in a deliberate order:
- Review the installation before moving. Confirm required fasteners were tightened to the vehicle-specific specifications, wheels were secured, and brake-hose and ABS-wire brackets were restored correctly. Use the exact installation instructions, not a universal torque value.
- Repeat the bounce screen. With the vehicle back on the ground, look for settling rather than continued oscillation. This checks one symptom; it does not verify alignment or fastener torque.
- Check alignment and calibration requirements. After strut replacement, follow the vehicle manufacturer’s procedure to determine whether a four-wheel alignment check or adjustment is required. On ADAS-equipped vehicles, also check whether the repair or alignment calls for steering-angle sensor, camera or radar calibration. See KYB’s vehicle-specific alignment guidance and Hunter’s ADAS alignment guide.
- Make the initial road check gentle. Use a safe, low-traffic area. Listen for new noises and note steering, ordinary braking and how the vehicle settles over normal road irregularities. Stop if there is instability or a new clunk. Do not attempt emergency maneuvers to prove the repair.
KYB's road-test guidance emphasizes inspection before testing and observing how the vehicle recovers after bumps. A short check is not permission to ignore unresolved symptoms or skip manufacturer-required alignment or calibration checks.
FAQ
Does a passing bounce test rule out worn struts?
No. Use it as an initial screen alongside visual inspection and professional diagnosis. Record the symptoms you notice in normal driving so the technician can investigate them.
Does “complete strut” mean an axle pair?
Verify quantity separately from assembly contents. “Complete” describes the assembled components; the listing still needs to specify how many units you receive.
Can I install a bare strut without handling the spring?
A bare-strut replacement requires rebuilding the spring assembly. Choose a complete preassembled replacement if you want to avoid that operation, or arrange professional installation.
Bottom line
Identify the symptoms, confirm the exact vehicle and axle application, inspect package contents, and replace the affected axle as a pair. Keep spring compression out of DIY work, then finish with installation checks, manufacturer-specified alignment and calibration checks, and a cautious road check.