
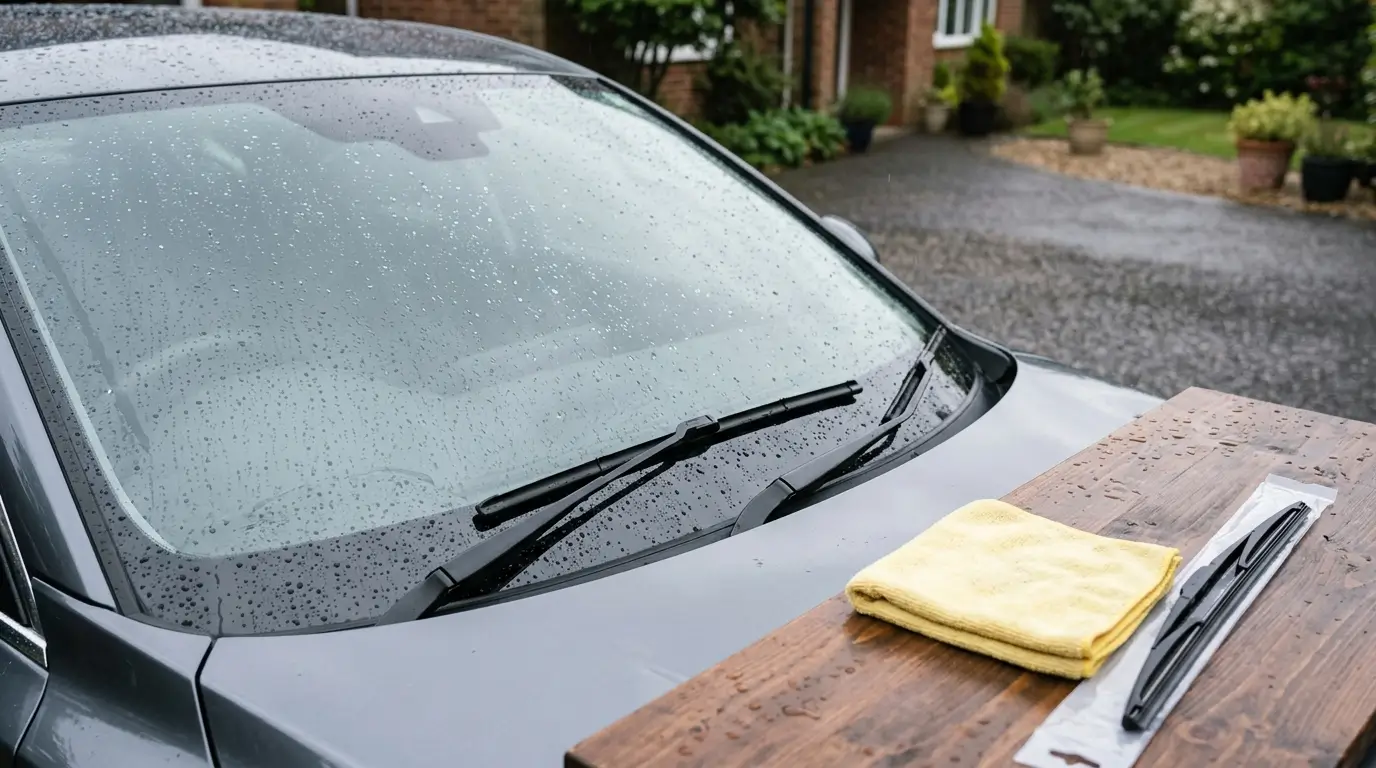
Wiper blade replacement is complete when the correct blades are securely attached and leave a clear view across wet glass. Work through these five questions to decide whether replacement is needed, order the right parts, and finish the job confidently.
1. Is the blade failing, or does it need cleaning?
Start with the symptom, then inspect the rubber:
- Streaking: water lines remain after a sweep. Clean the glass and blade, then check whether the lines return.
- Chattering: the blade skips or judders across the windshield. Check for dirt and a loose attachment as well as worn rubber.
- Squeaking: noise alone does not identify the cause. Contamination can make an otherwise usable blade noisy.
- Torn rubber: a split or damaged wiping edge calls for replacement; cleaning cannot repair it.
GMC's troubleshooting guide covers persistent streaks, chatter and attachment checks. Bosch's wear illustrations also identify torn wiping rubber as a cause of streaks.
For intact blades, wipe the rubber gently with a microfiber cloth and clean the windshield with an appropriate glass cleaner. Grime, pollen, oil and wax films can interfere with wiping. Test again on wet glass before deciding whether cleaning solved the problem. Rain-X explains how contamination causes streaking, skipping and noise.
Replace damaged blades or blades that continue to clear poorly after cleaning. The useful question is whether you have a clear view through the swept area, rather than whether the blades still look new.
2. How to choose the exact blade and position
Confirm driver and passenger lengths separately
Record the vehicle's year, make and model, then check its manual or the blade manufacturer's application lookup. Make two entries: front driver side and front passenger side. Their lengths may differ; never assume one size covers both positions.
You can measure the existing rubber wiping element end to end as a cross-check. Measure the rubber rather than the metal frame, and record the unit alongside each length. Resolve a mismatch with the vehicle application information before ordering. A longer blade can interfere with the other blade or extend past the glass; a shorter one can leave areas uncleared. TRICO's sizing guide explains these checks.
Identify the arm connector
Length alone does not establish fit. Compare the arm end with the replacement's illustrated instructions:
- J-hook: the arm curves back into a hook. Match the hook variant and its adapter.
- Pinch tab: paired retaining tabs release together. Identify the tabs before attempting removal.
- Side pin: a pin extends sideways into the connection. Match its variant to the specified adapter.
Rain-X's arm-type reference distinguishes these families and their variants. A familiar connector name is a starting point, not permission to force a near match.
Make a fitment checklist before buying
Use the blade manufacturer's application lookup for the vehicle you are working on, then verify the listed position, length, connector and package contents. Keep separate notes for the driver and passenger sides so that each blade has a confirmed position and attachment.
Your notes should answer: Which vehicle? Which side? Which length? Which attachment? If the selected part and the hardware on the car disagree, resolve that discrepancy before buying or dismantling anything. Do not choose by appearance or length alone.
3. What is included in the package?
Read the package contents before removing the old blade. Check the blade count, listed length, included adapters and installation sheet; do not assume one package contains both front blades.
Multi-adapter packs provide a choice of attachments. Select the adapter named for your arm in the instructions, then assemble it as directed. Extra pieces are alternatives, not pieces to stack together. Bosch's adapter-system guide illustrates selecting an adapter and checking the blade quantity on the packaging.
Pre-installed clips or adapters are already attached to the blade. That does not mean the fitted adapter is right for every car: some connections require changing it. Rain-X's Fusion instructions show both use of a pre-installed adapter and replacement for a different arm type.
Lay out the parts and identify the correct attachment while the old blade is still installed. If the required adapter is missing or the contents do not match the instructions, pause the job and resolve it first.
4. Can you DIY it, and what precautions matter?
DIY is a reasonable choice when you can identify the connector, follow its release sequence and control the arm throughout removal. Prepare the matched blades, their instructions, a windshield protection towel, microfiber cloth, glass cleaner and washer fluid. Check the exact instructions for any required tools; do not use a tool to force a stuck latch.
Prepare the vehicle
Read the vehicle manual before lifting the arms. Some vehicles need a wiper service position for replacement. Follow your vehicle's ignition and service-position procedure rather than borrowing another model's control sequence. Ford's manual example shows why this step is vehicle-specific.
Safety reminder: Before starting blade replacement, turn off the wiper controls, disable automatic rain-sensing wiper mode if fitted, and switch off the vehicle's ignition/power to prevent the arms from cycling unexpectedly during service. Complete any required service-position procedure first, then confirm these settings are off before touching the arms. Mazda's wiper-service warning explains how touching or wiping the rain-sensor area can trigger movement when AUTO mode and the ignition are on.
Protect the windshield and release the latch
Place a towel on the windshield beneath the arm before removing a blade. Keep control of the arm: a bare metal arm snapping back can crack the glass. Work on one side at a time and lower the bare arm gently onto the towel while preparing the replacement.
Disengage the latch first. A J-hook blade typically slides toward the arm base after release; paired tabs must be pinched together. Use the side-pin adapter's own illustrated release sequence. If it resists, stop and recheck. TRICO's replacement guide covers arm protection and latch release.
Attach and lock the new blade
Fit the specified adapter and engage its lock according to the blade instructions. For example, Rain-X's J-hook instructions describe seating the hook until it clicks and closing the tab. Check that your connection is secure, remove any rubber-edge protector as instructed, and lower the blade gently. Repeat for the other side.
5. How do you verify the installation?
Remove the towel, lower both blades and return the wipers from service position as your manual directs. Wet the windshield with washer fluid and test at different speeds. Look for clean sweeps without persistent streaks, skipped patches, chatter or squeaks. Do not run the test on dry glass. TRICO's testing guidance explains this final check.
If wiping remains poor, stop and recheck the attachment, remove any remaining protective strip, and clean the glass and rubber before retesting. GMC's troubleshooting steps include checking loose attachments and contamination. Seek help if the blade will not lock securely or the problem persists.
If a part does not fit, stop and compare the vehicle application, blade position and adapter instructions again. Do not force an incompatible connection or operate a blade that has not locked securely.
FAQ
Does a multi-adapter package contain two blades?
Check the blade quantity separately from the adapter count. Extra adapters serve different arm connections; they do not establish that both driver and passenger blades are included. See Bosch's packaging guide.
When should I plan my DIY installation?
Start once you have checked both replacement blades, identified the correct adapters and read the vehicle's service-position instructions, if applicable. Keep the existing blades installed until those checks are complete, and leave time to test the replacements on wet glass before driving.
What if the replacement does not fit?
Stop rather than forcing the connection. Recheck the vehicle application, driver or passenger position, blade length and exact arm adapter against the manufacturer's instructions. Keep the bare arm controlled and the towel beneath it while resolving the mismatch; seek help if you cannot attach the correct blade securely.
Bottom line
Finish each checkpoint before moving to the next: diagnose the wiping problem, confirm both positions and connectors, check the package, protect the windshield during installation, and verify clean wet-glass sweeps.
Clear visibility is one part of rainy-season readiness. Give tire tread depth, wet traction and responsive brakes the same attention as your wipers. Before the rainy season, check the condition of your all-season tires, if fitted: inspect tread wear and visible damage, and check inflation against the vehicle's label or manual. Tread supplies the grip needed on wet roads; NHTSA's tire safety guide explains the inspection checks.
Have brake pad wear checked before the rainy season, too. If unusual braking noises develop, arrange a brake inspection promptly. If braking is noticeably weaker, the pedal feels soft or continues to sink, or you suspect a brake-fluid leak, do not continue driving. Arrange professional inspection and towing as needed. See AAA's brake warning signs and towing guidance. Brembo's brake pad maintenance guidance explains the warning signs and why worn pads need attention. Pair your clear-view check with tire and brake checks so the vehicle is prepared to respond to what you can see.